Digital technologies/3D printing/3D printing- Beginner/How do FDM Printers Work?


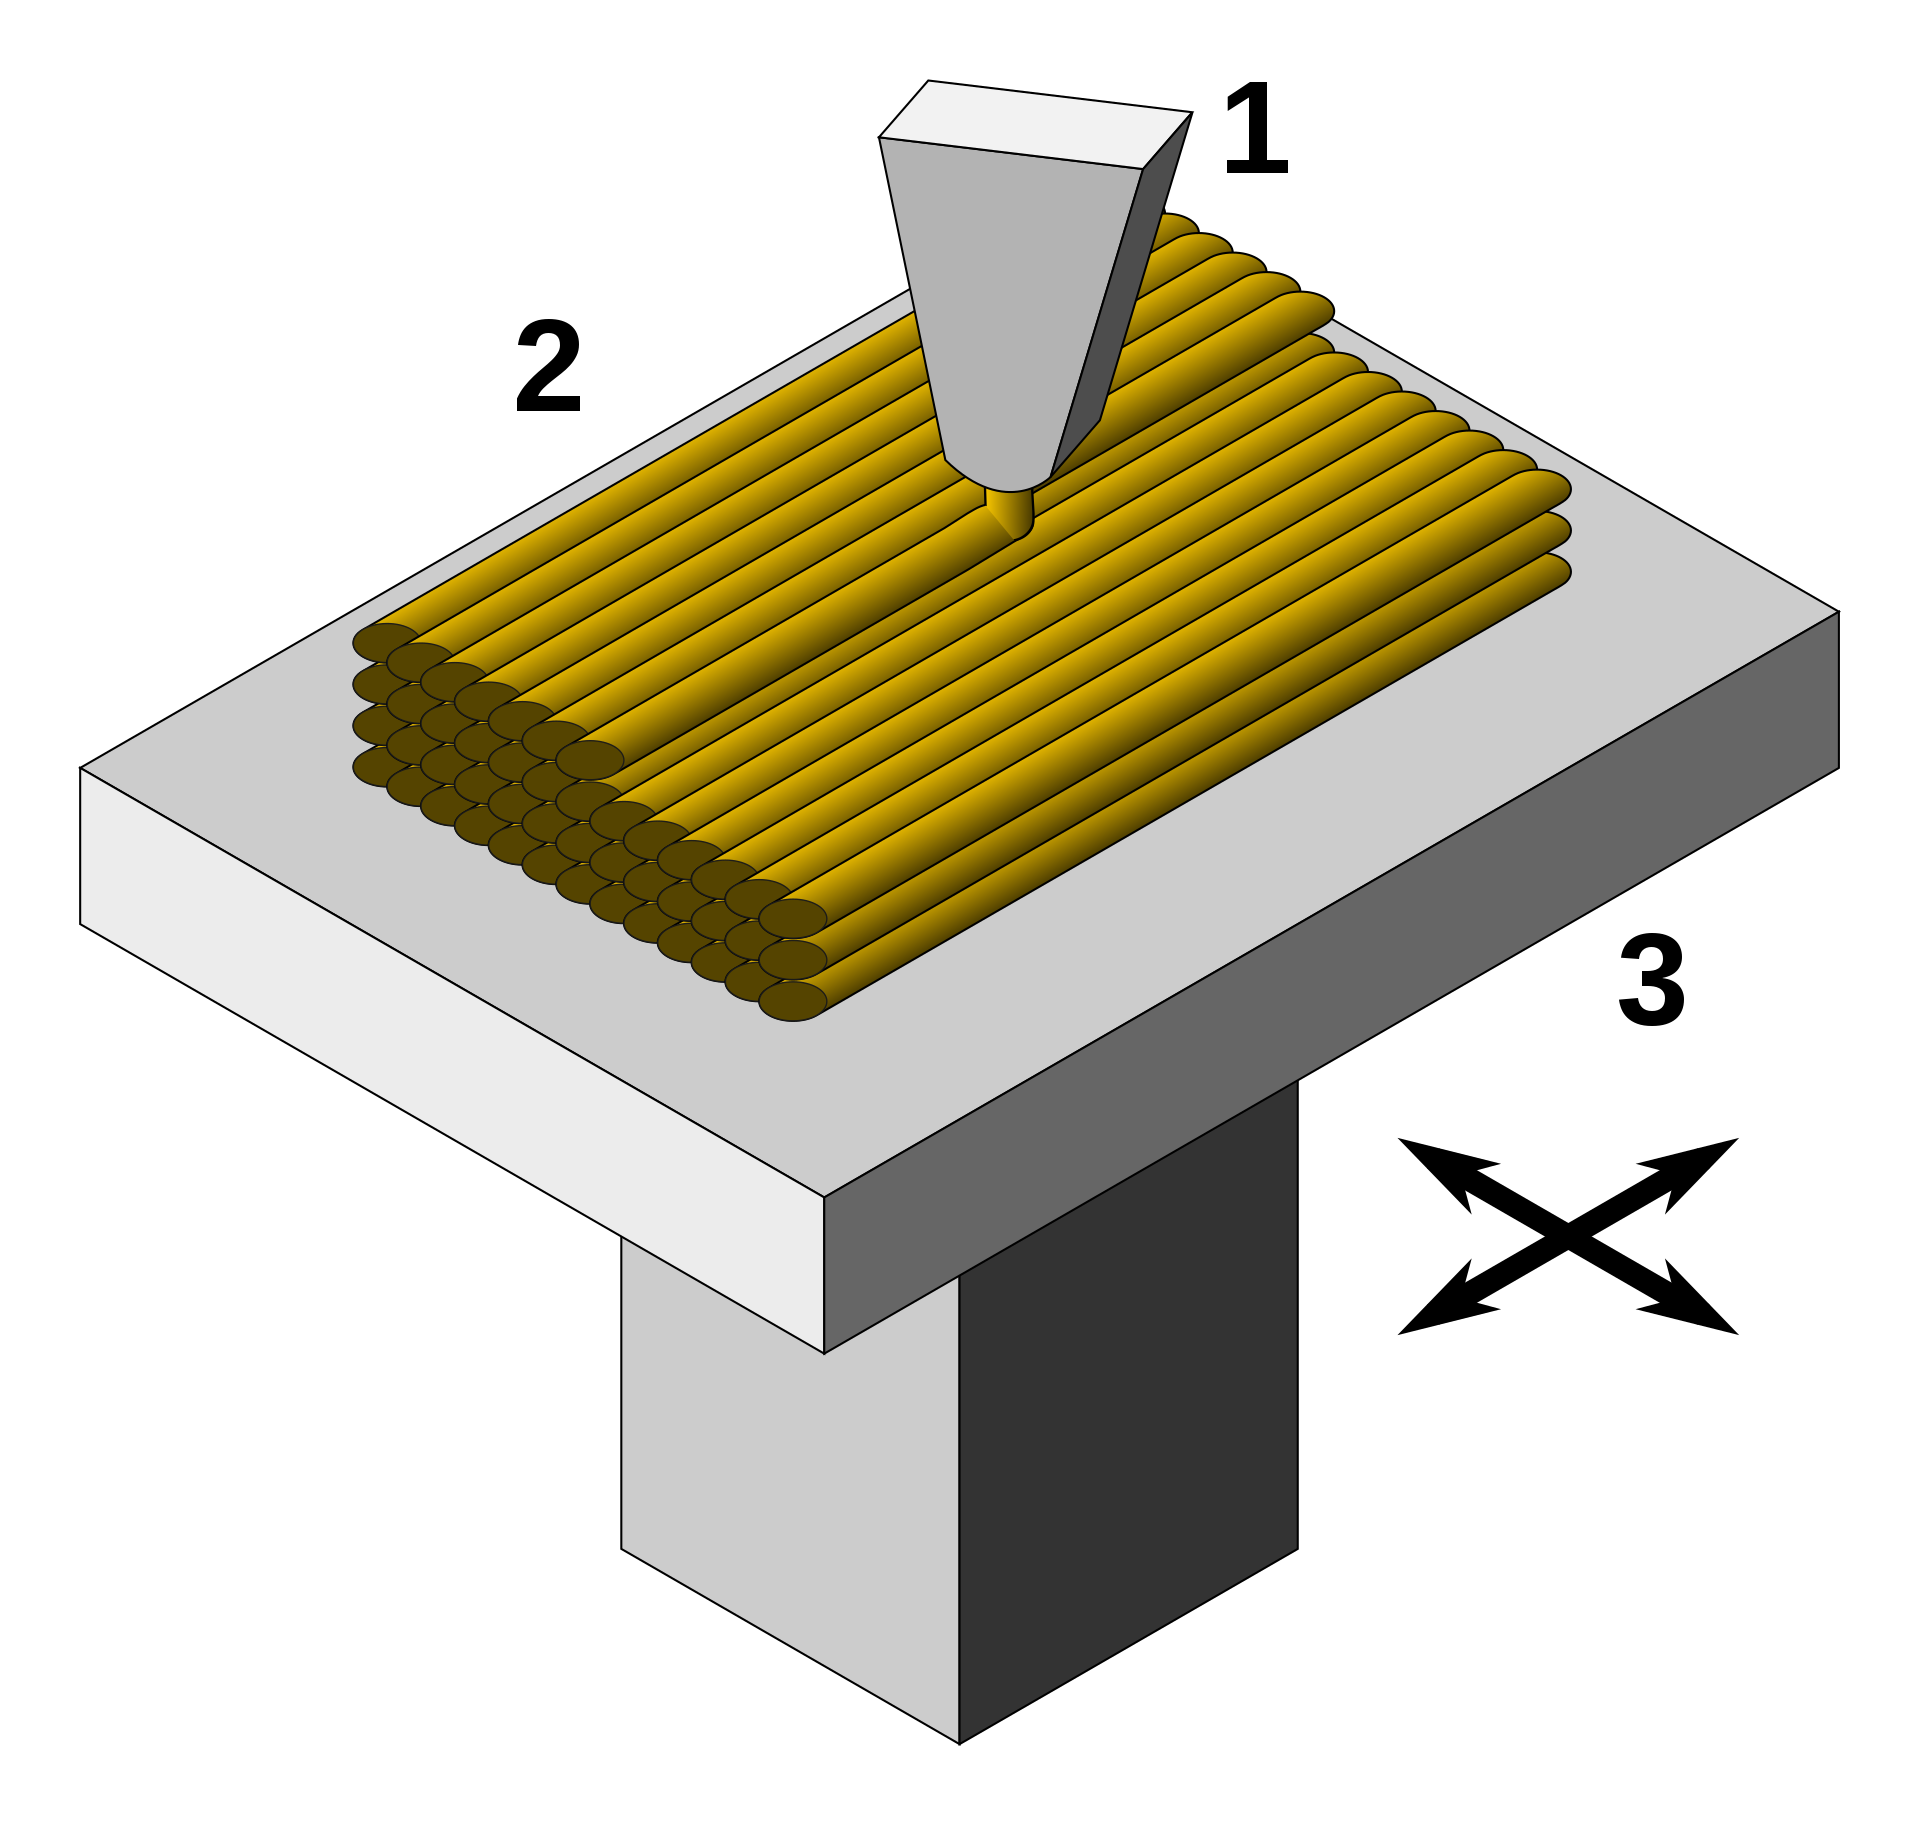
Fused deposition modelling (FDM) printers extrude melted material through a nozzle. As this happens, the nozzle is moved along a predetermined toolpath (a set of spatial coordinates), laying the extruded material on existing surfaces along the way. The toolpath is generated from CAD models in a software called a slicer software, named this way given that it slices 3D models in thin 2D layers which when stacked reform the original model.
Important Parameters
It is important to keep a few parameters in mind when FDM printing. Using the proper parameters will ensure that your print comes out right!
Nozzle Size
The nozzle size is an important parameter that affects the quality of the print you will obtain. Depending on the size of your print, as well as the desired quality, you may choose different nozzle sizes. Larger nozzles will be able to output more material such that prints on large nozzle printers will take less time (provided that other parameters such as layer height and printer speed are adjusted to take the larger nozzle into account). On the opposite side of the spectrum, smaller nozzle sizes will lead to a slower print, but finer feature qualities. At the Makerspace, we have 0.25mm, 0.4mm, 0.6mm and 0.8mm nozzles on our printers, the most popular sizes being 0.4mm and 0.8mm. Most desktop printers will have a 0.4mm nozzle size by default as this size strikes a nice balance between quality of print and print times. Laws of geometry being what they are, however, the amount of material you can output through the nozzle of your printer increases by a power of 2 as you increase nozzle sizes, such that you can expect to reduce printing times by roughly a factor of 4 by going from a 0.4mm nozzle to a 0.8mm nozzle (don't rely solely on presets to try to replicate these results, other settings need tweaking such as layer height and printer speed to reproduce this ratio of nozzle size to print time).
Layer Height
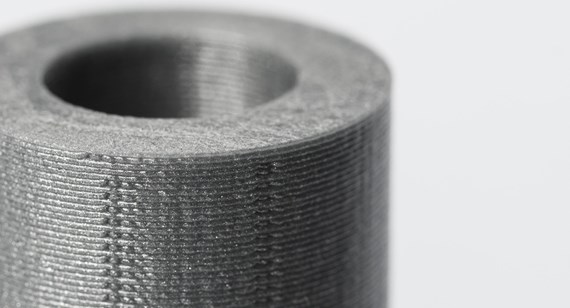
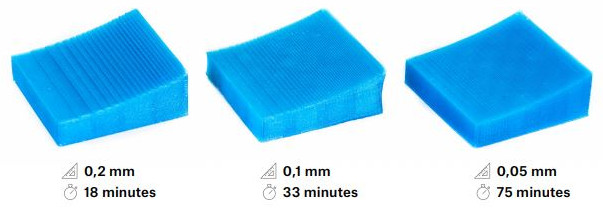
The Layer height is the second and most obvious parameter to tweak in order to obtain the preferred results. Larger layer heights will lead to coarser resolution in height (along the Z axis). Lower layer heights will lead to higher resolutions along Z, but will also increase the print time drastically. Note that using larger nozzles will allow you to use larger layer heights due to the extra volumetric flow obtainable. See below for an example.

Print Speed
The print speed is another one of those obvious parameters that will affect print times. Since the beginner slicing methods do not include modifications to print speed, going over this parameter was considered out of the scope of beginner knowledge and such print speed will be discussed in the intermediate page.
- ↑ Gringer (Wikipedia User, 2018). Fused Filament Fabrication. Wikipedia. Accessed 2022-07-25 at https://en.wikipedia.org/wiki/Fused_filament_fabrication
- ↑ Redwood, Ben (2022). How does part orientation affect a 3D print? Hubs, a Protolabs company. Accessed on 12/05/2022 at https://www.hubs.com/knowledge-base/how-does-part-orientation-affect-3d-print/
- ↑ B3D Online (2022). FFF/FDM 3D Print 101-Layer Height, Infill & Support. Accessed 2022/05/16 at https://www.b3d-online.com/blog-news/ffffdm-3d-print-101-layer-height-infill-support