Digital technologies/Soldering/Soldering- Beginner/Equipment and Materials
Types of boards
Breadboards
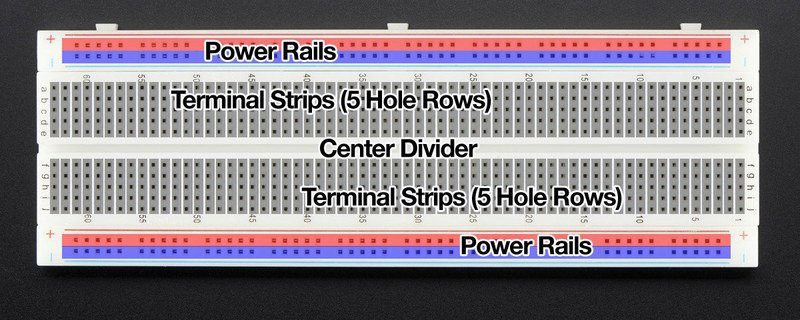
Breadboards are used to build temporary circuits, they allow you to plug wires into the board and prototype circuits. The holes in a breadboard are typically connected in 2 ways: the (+) bars running down the board are connected vertically and the (-) are connected in a similar way. Each horizontal row of 5 dots is connected together. The part in the middle of the board is where the connection breaks.
Protoboards
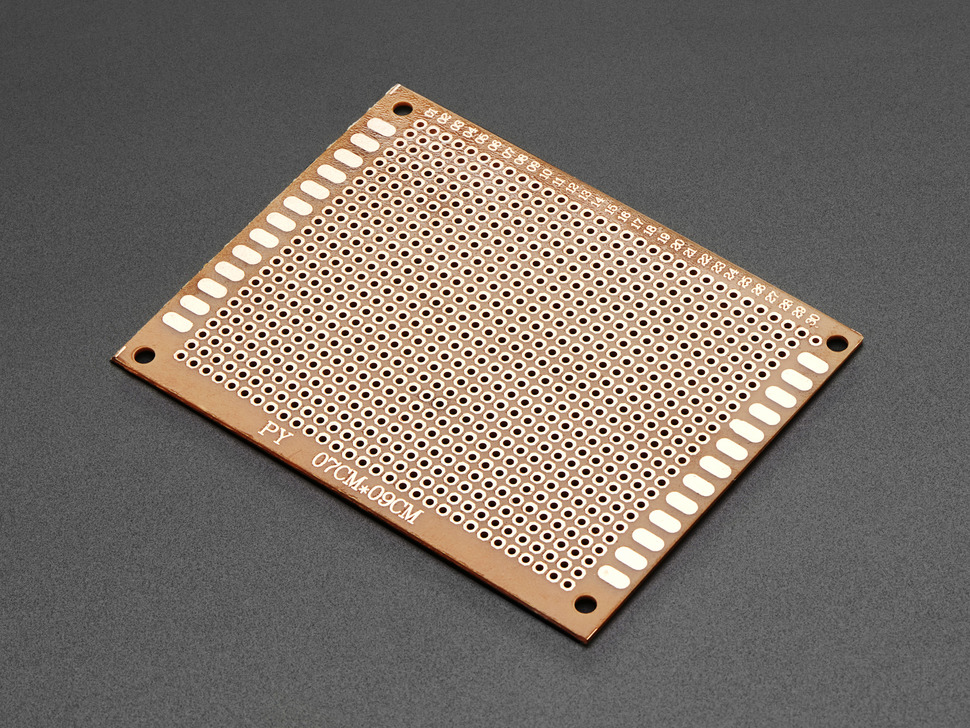
A protoboard (also known as a perfboard or stripboard or DOT PCB) is a PCB with pre-drilled holes that have square or circular copper pads. This board allows you to insert components into the holes to secure them and then the holes can be bridged together in order to connect them together and create a circuit. A protoboard typically has individual pads on the board and a stripboard will have many pads already connected together.
PCBs
PCBs or Printed Circuit Boards are boards with connection pathways printed into the board. These boards are typically used in later stages of prototyping as there isn’t as much flexibility once the board is printed.

Tools
- Soldering Iron and stand
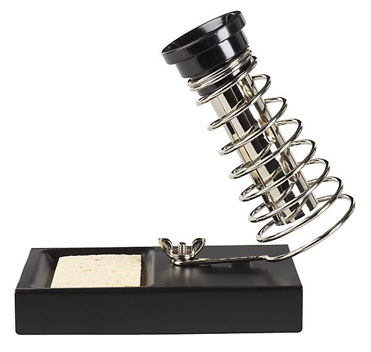
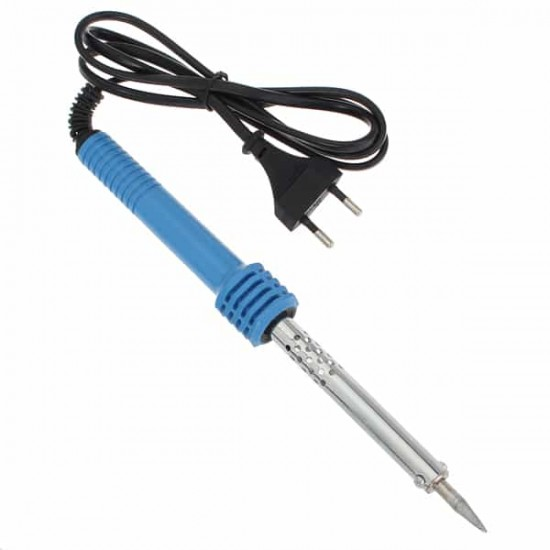
This is the iron used to manipulate the solder onto the board or circuit. A stand is very helpful to hold the iron while it's not in use to avoid touching and burning anything around the iron. They usually come with a sponge or brass wool to clean the tip of the iron.
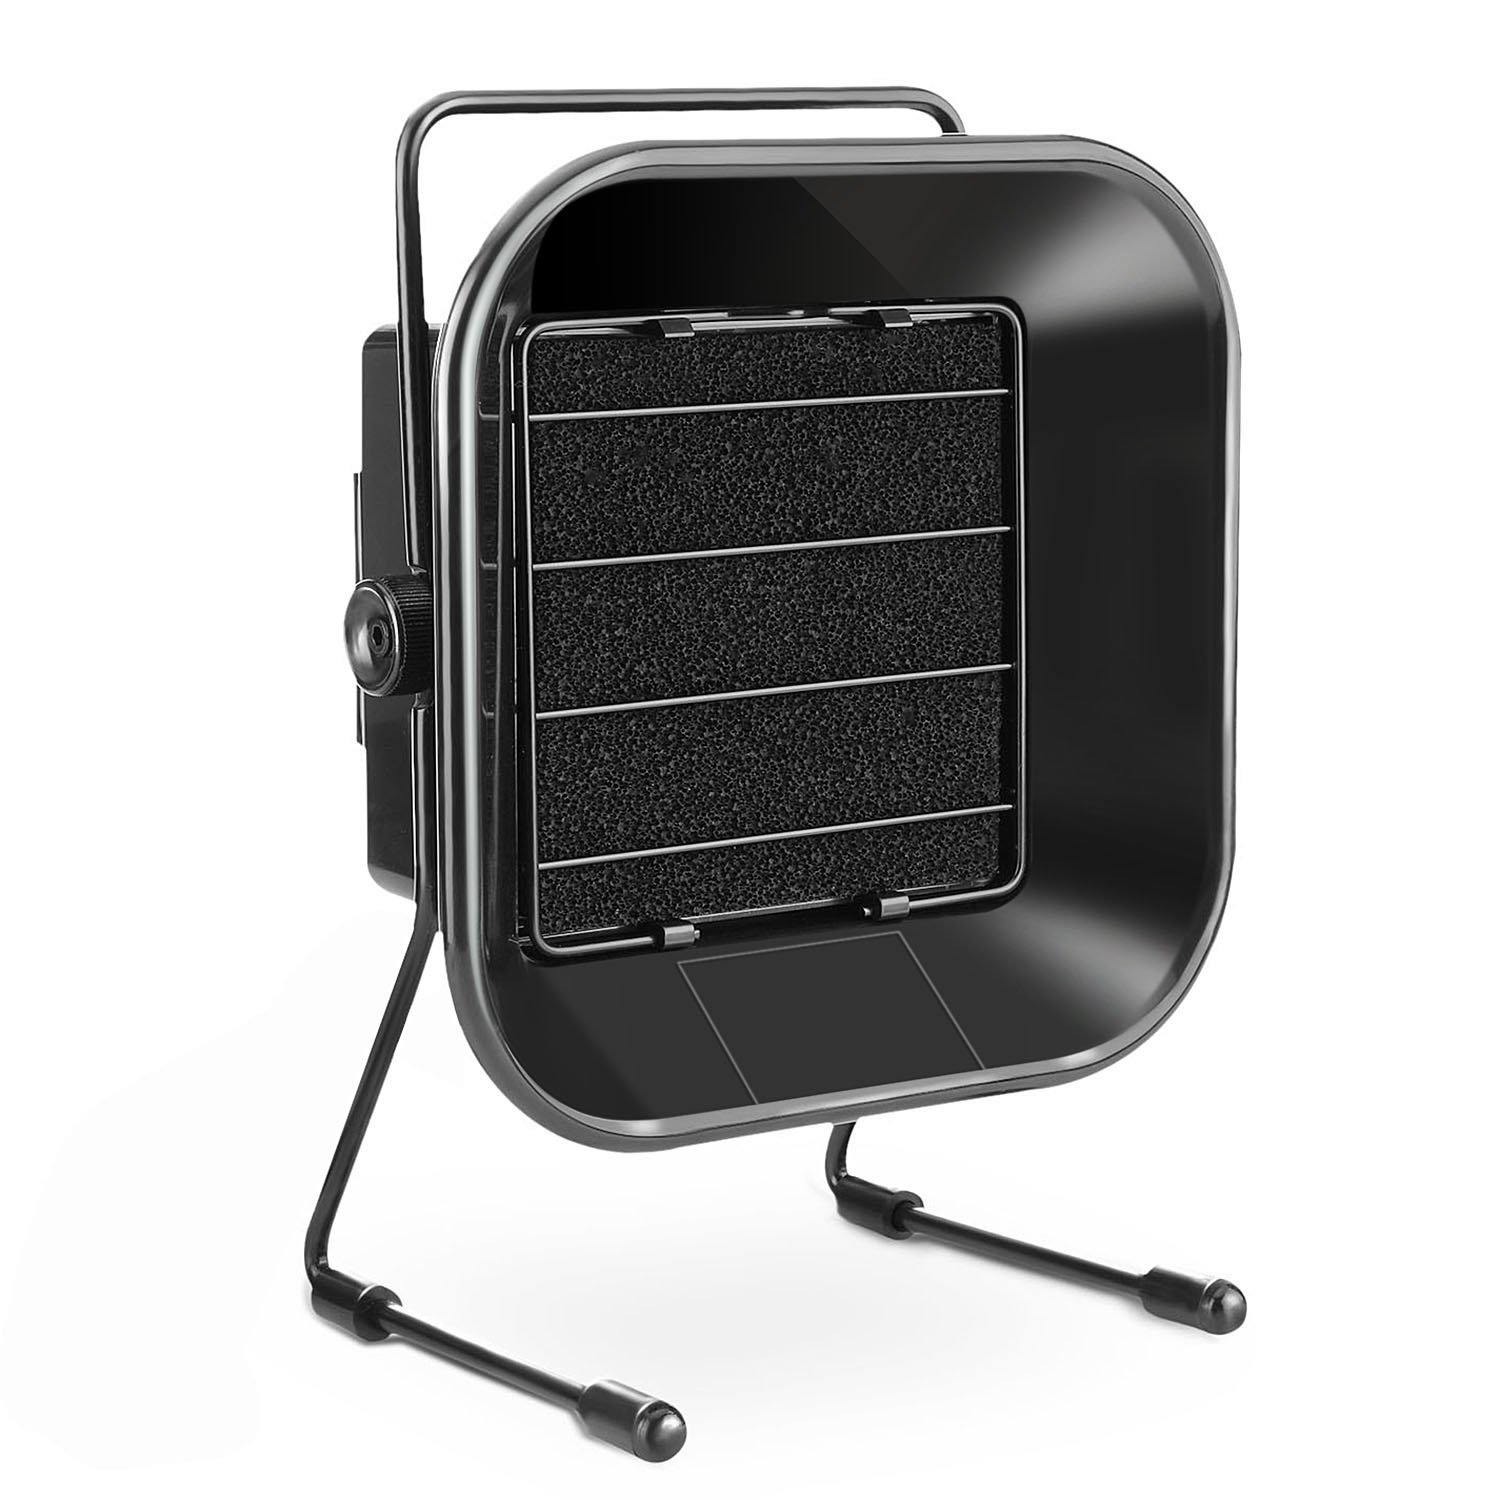
- Exhaust
Melting the solder often results in the production of fumes, these fumes can be toxic with extended exposure and so, soldering if often done in areas with good ventilation or in the presence of an exhaust system/fan.
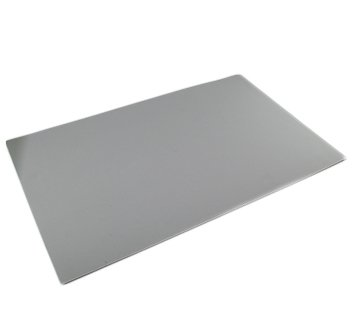
- Soldering Mat
Soldering mats are great for protecting surfaces when soldering, it allows you to avoid burning the tables and damaging them. Furthermore, due to the material of most soldering mats they are also anti static and aid in component protection.
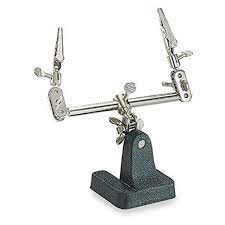
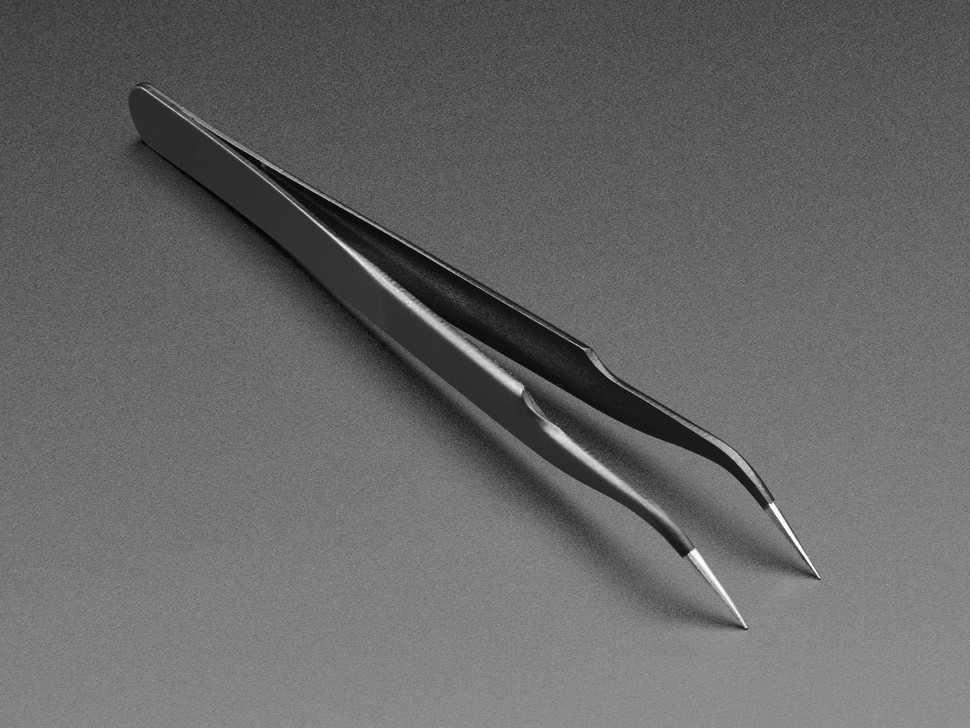
- Tweezers and helping hands
Often with smaller components and in the presence of a more complicated circuit, using additional equipment like helping hands or tweezers can help the process. These essentially aid in manipulating the components and keeping them in a specific position.
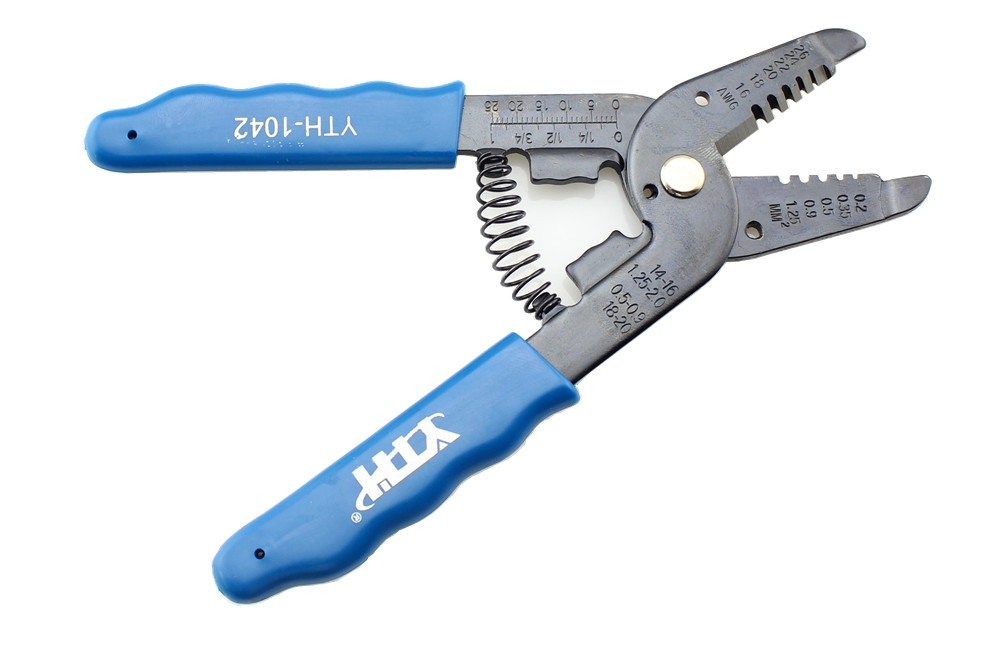
- Wire Strippers
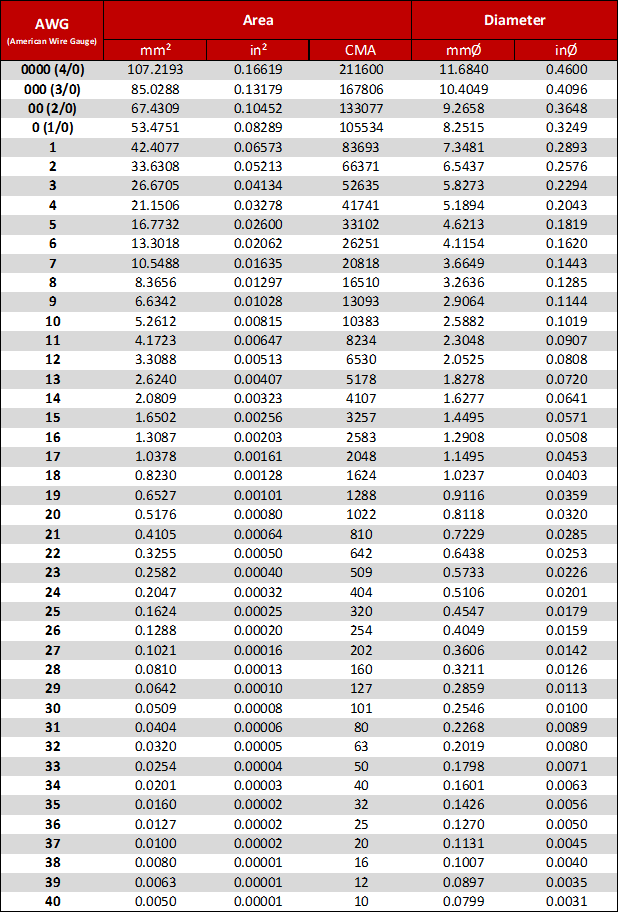
Cited from: https://www.digikey.ca/en/resources/conversion-calculators/conversion-calculator-wire-size
Wire strippers are used to expose the internal wire and remove the plastic insulation to allow you to create connections between different wires. They are rated for different diameters (or gauges) of wire which is indicated on the tool itself. The American Wire Gauge (AWG) is a standardized way of specifying the size of a wire. Digikey has a wire size conversion calculator for example: https://www.digikey.ca/en/resources/conversion-calculators/conversion-calculator-wire-size
- Flush Cutter
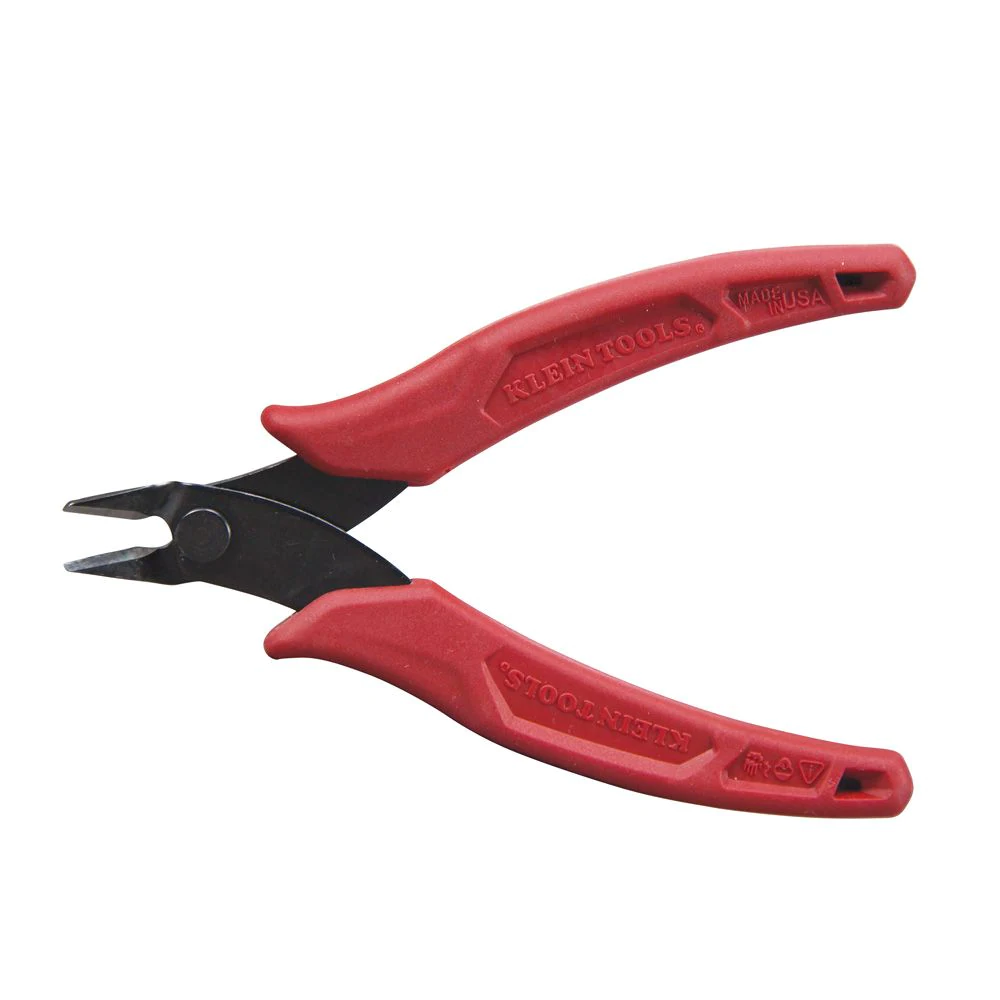
Flush Cutters are great for getting a close and neat cut to the soldered joint!
- Solder
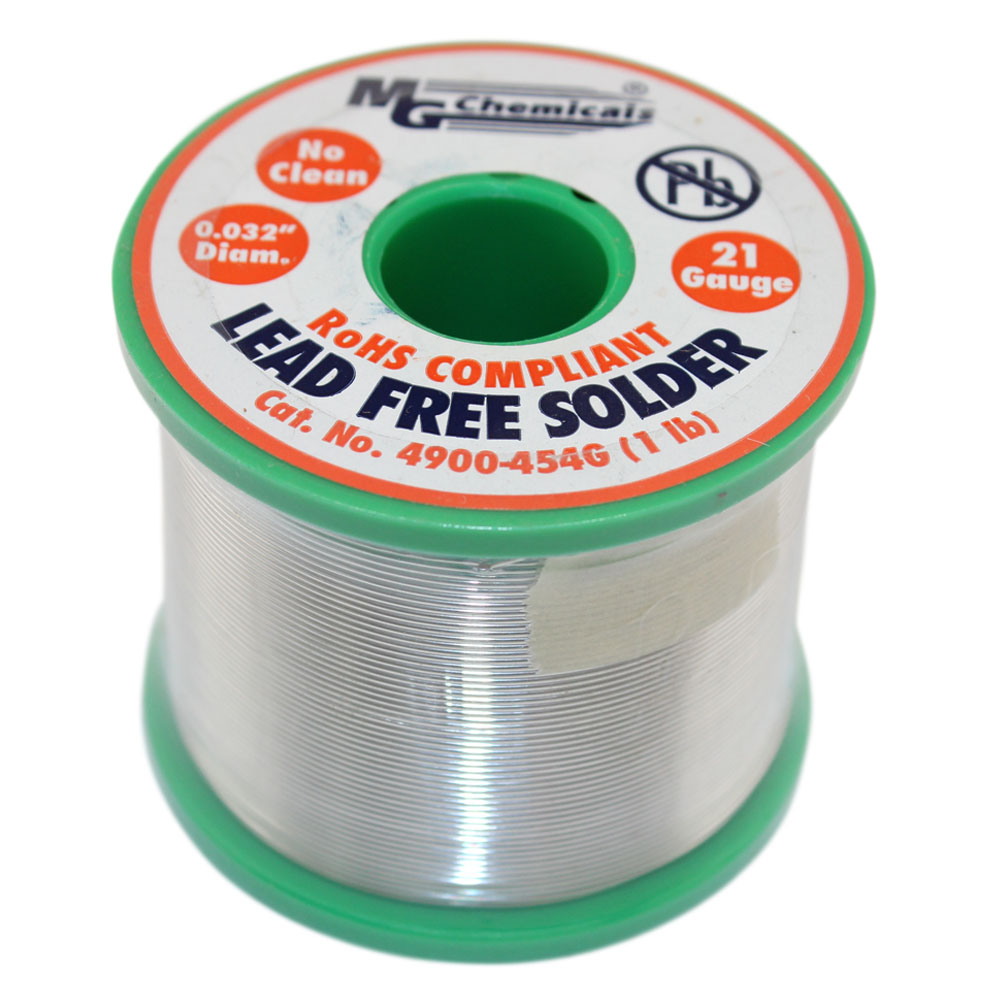
The material used to create joints is called solder, this is often sold in rolls of wire, there are different forms of solder that can vary in dimension. Always be sure to use lead free solder as the alternative is toxic. When purchasing solder for circuits, ensure that it isn’t plumbing solder.
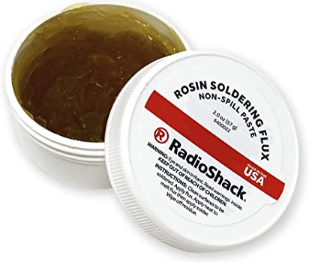
- Flux
Flux is a material used to aid in soldering, this chemical removes the oxides on the surfaces of the metals being soldered and allows the solder to flow more uniformly on the joint and components.
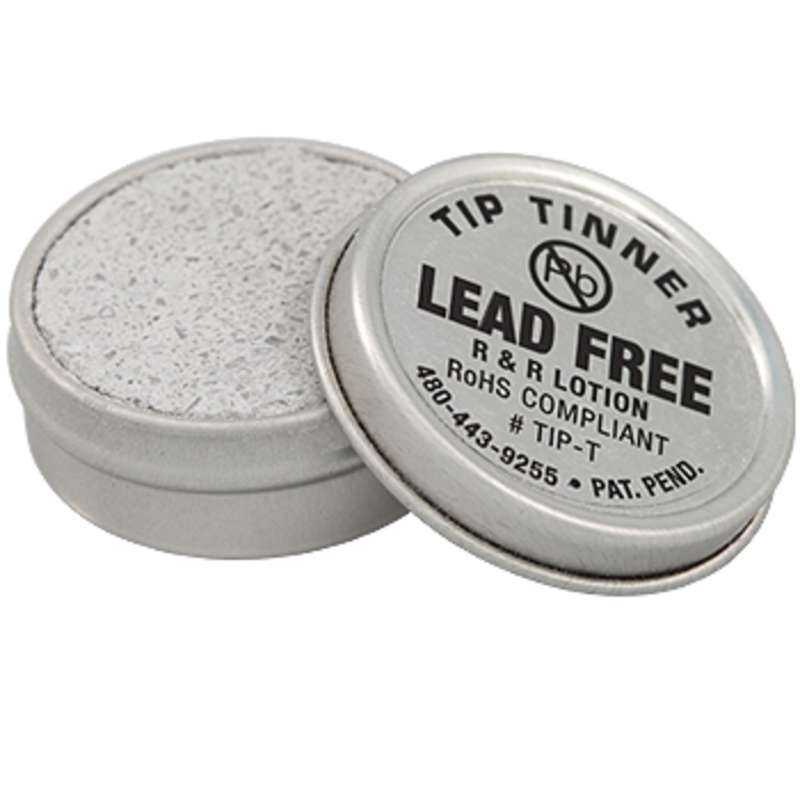
- Tip tinner
This chemical aids in cleaning the tip of the soldering iron when it is blackened or very oxidized and helps to solder with far greater ease. This material is great if the iron won’t clean with regular brass wool or sponge.
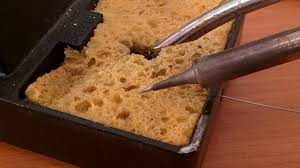
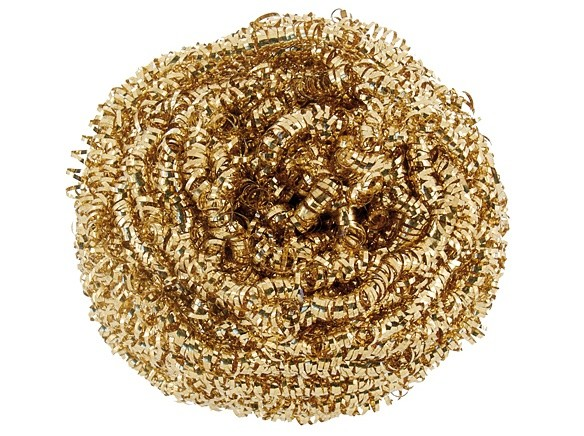
- Brass Wool and wet sponge
A brass wool can be use to help clean oxidization off of the soldering iron - this aids in adhesion between the soldering iron and the solder. A wet sponge can be used to help clean the iron while soldering. Wet paper towel can also be used.
Tool Maintenance
- Cleaning the iron tip
Either by using a wet sponge or brass wool clean the iron tip regularly in order to remove old solder and oxidization.
- Tin the tip when you are using the iron
Add a small amount of solder to the iron to keep it from oxidizing when you place it in the holder. You can then wipe it off with the sponge/wool before starting to solder.
- Select the correct temperature
- 700F (370C) for through hole components and wires
- 600F (315C) for surface mount components
Higher temperatures can damage the iron and cause it to burn and oxidize faster. It is good practice to use the lowest temperature possible which will still melt the solder. As the tip gets more oxidized a higher temperature will be needed to use it efficiently.
- Do not:
- Do not leave the iron on. Leaving the iron can cause the tip to burn and will ruin in the iron over time.
- Do not file the tip. The tips have a protective coating the will get ruined.
- Don’t touch the mat or any plastics with the iron. A thin plastic film will form on the iron which will inhibit soldering, this includes heat shrink tubing.