Digital technologies/3D printing/3D printing- Intermediate: Difference between revisions
Created page with "This page will focus on intermediate 3D printing skills. You should be familiar with 3D Printing- Beginner before continuing. ==3D Printing- Intermediate/Ty..." |
(No difference)
|
Revision as of 17:54, 4 June 2021
This page will focus on intermediate 3D printing skills. You should be familiar with 3D Printing- Beginner before continuing.
Types of printers
Printers
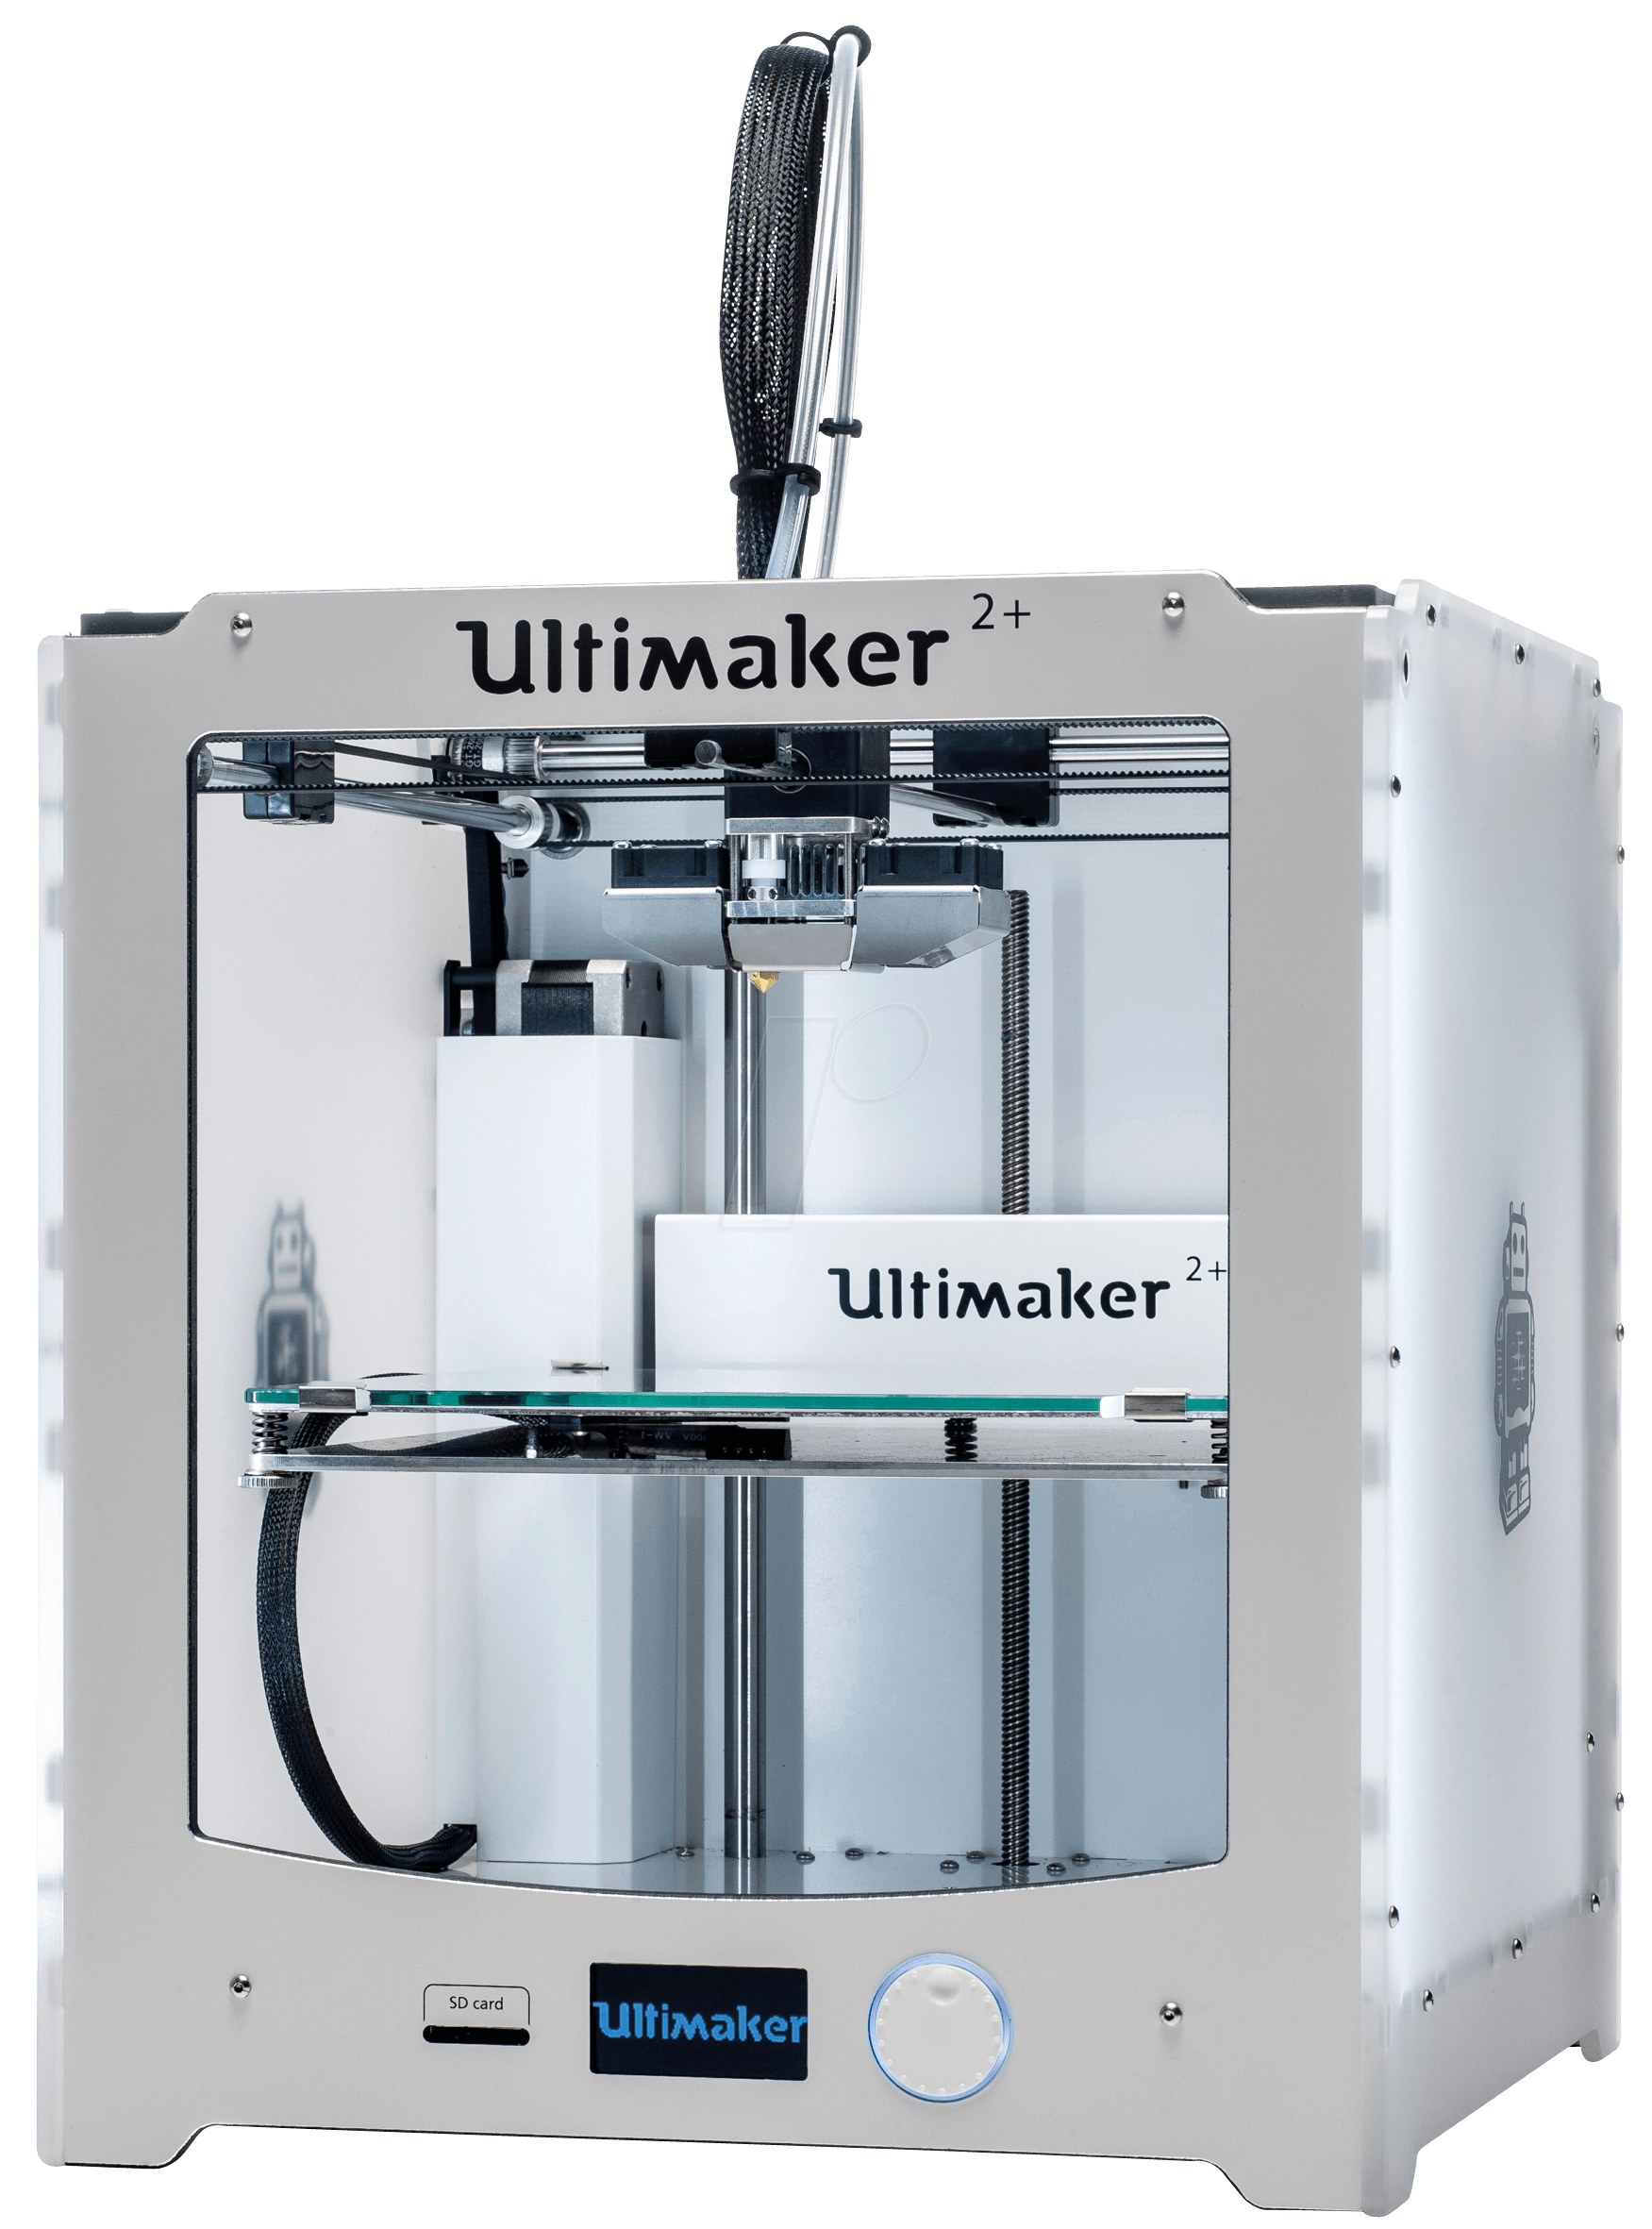
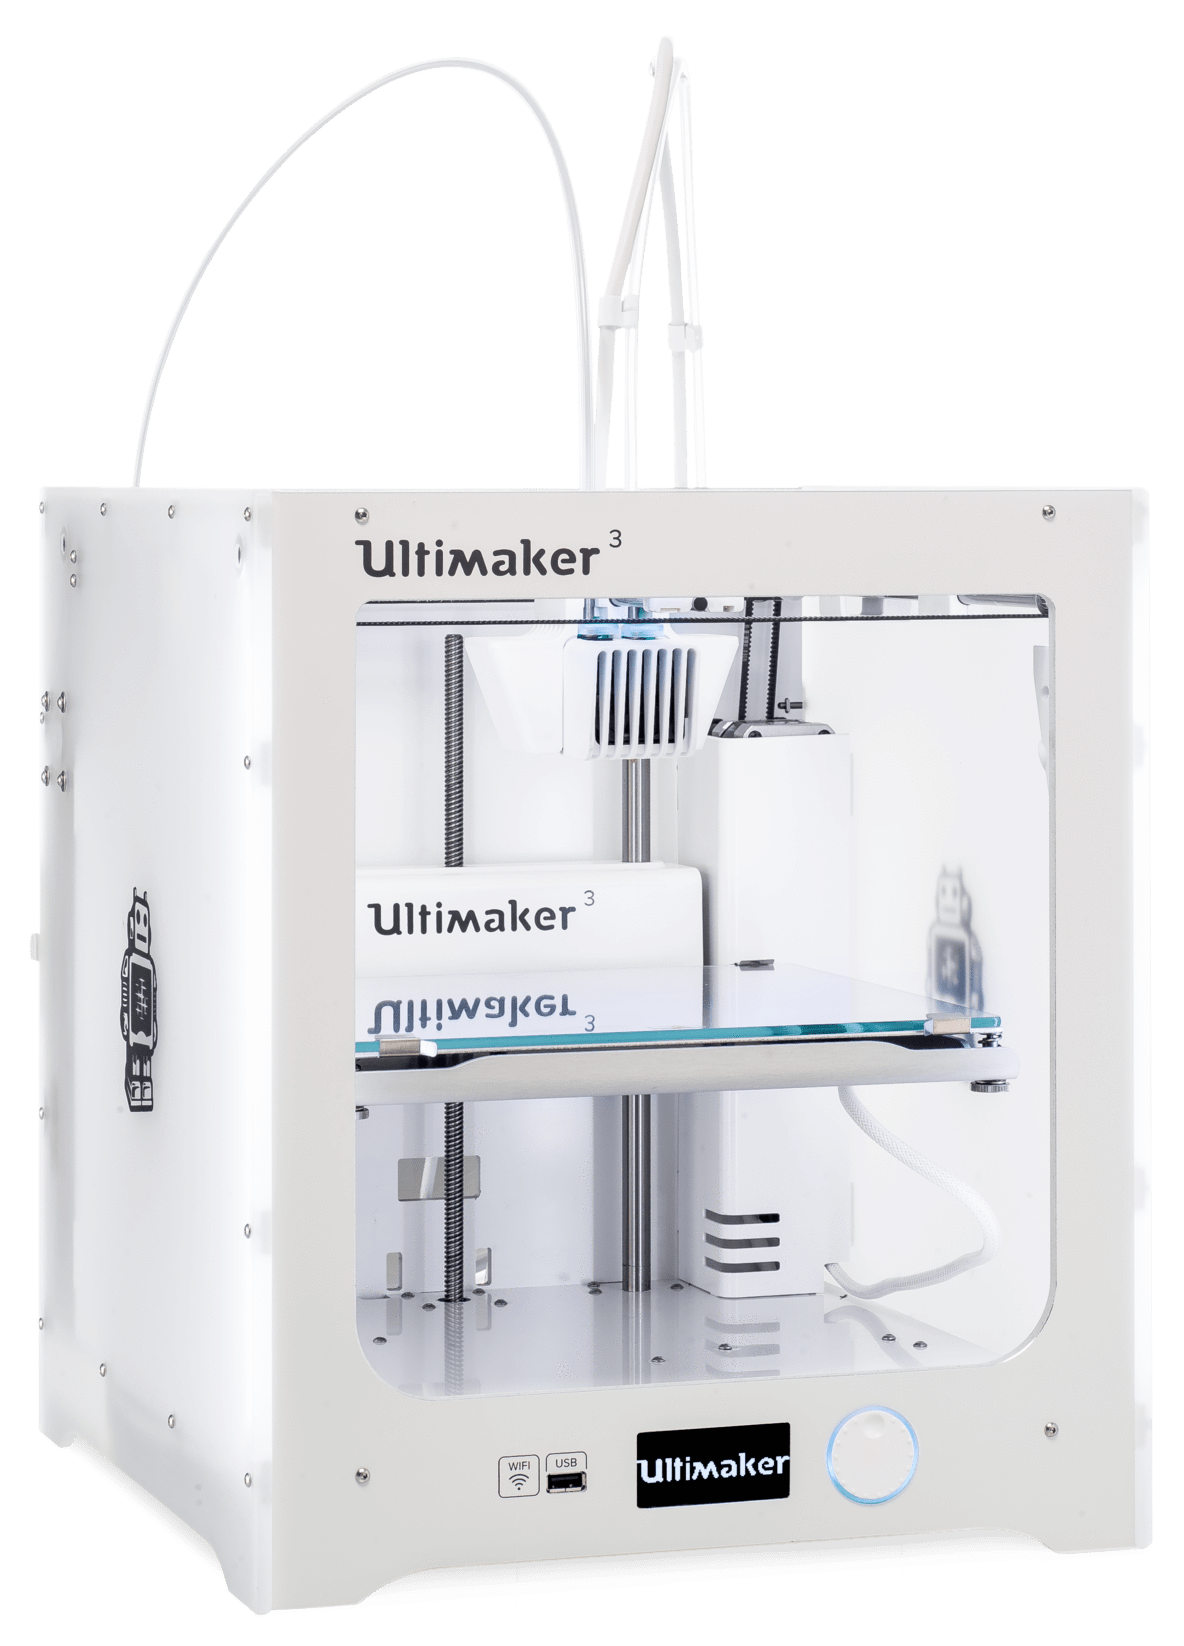
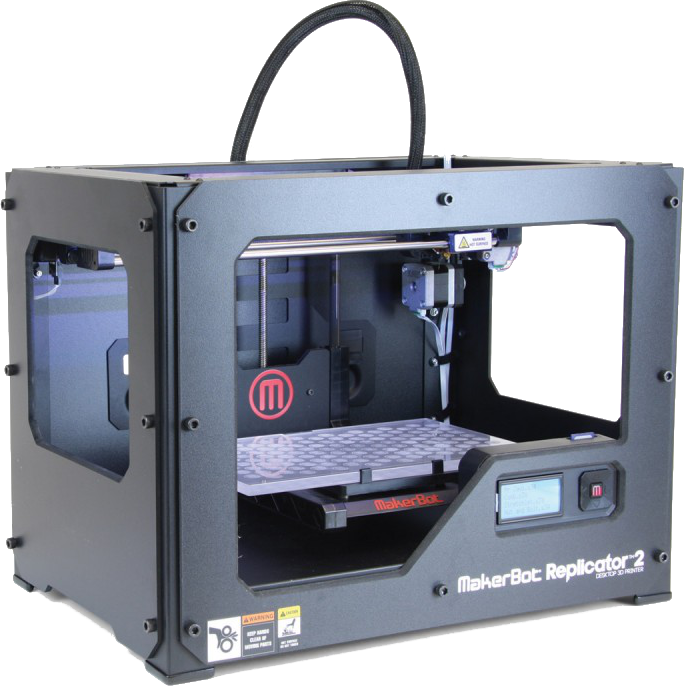
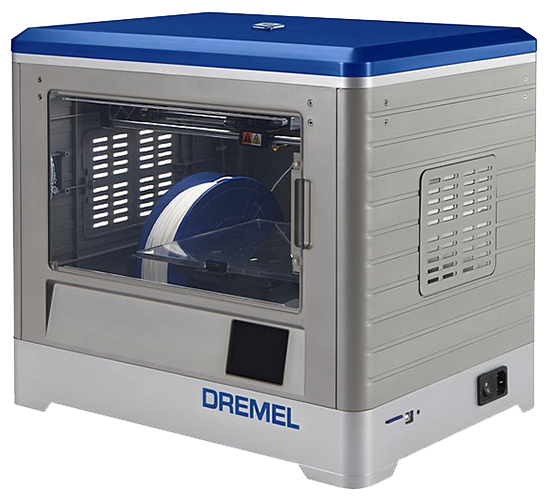
These are the available printers in the uOttawa Makerspace, each brand of printer will have a different slicer and way of starting the prints.
| Slicer | Cura |
|---|---|
| Build Volume | 223 × 223 × 205 mm |
| Compatible materials | PLA, ABS, Flexible |
| Minimum Layer Height | 0.06 mm |
| Heated Build Plate | Yes |
| More Information | [{{{moreInformation}}} Ultimaker 2+] |
| Slicer | Cura |
|---|---|
| Build Volume | 215 × 215 × 200 mm |
| Compatible materials | PLA, PVA, Flexible |
| Minimum Layer Height | 0.02 mm |
| Heated Build Plate | Yes |
| More Information | [{{{moreInformation}}} Ultimaker 3] |
| Slicer | MakerBot Print |
|---|---|
| Build Volume | 285 × 153 × 155 mm |
| Compatible materials | PLA |
| Minimum Layer Height | 0.1 mm |
| Heated Build Plate | No |
| More Information | [{{{moreInformation}}} MakerBot Replicator 2] |
| Slicer | DigiLab 3D |
|---|---|
| Build Volume | 230 × 150 × 140 mm |
| Compatible materials | PLA |
| Minimum Layer Height | 0.1 mm |
| Heated Build Plate | No |
| More Information | [{{{moreInformation}}} Dremel 3D20] |
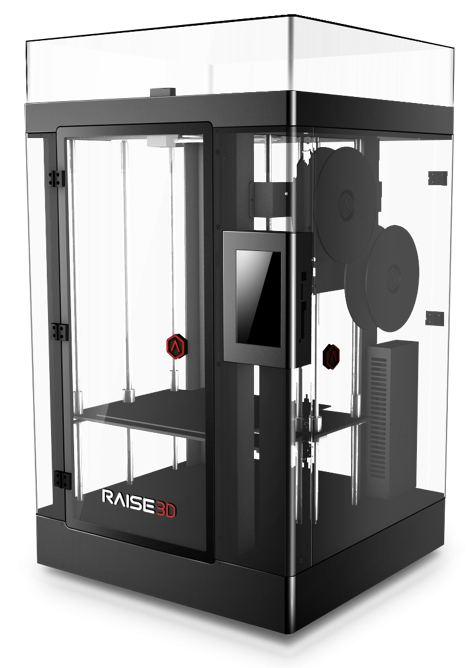
| Slicer | ideaMaker |
|---|---|
| Build Volume | 305 × 305 × 605 mm |
| Compatible materials | PLA, ABS, PVA, Flexible |
| Minimum Layer Height | 0.01 mm |
| Heated Build Plate | Yes |
| More Information | [{{{moreInformation}}} Raise3D N2 Plus] |
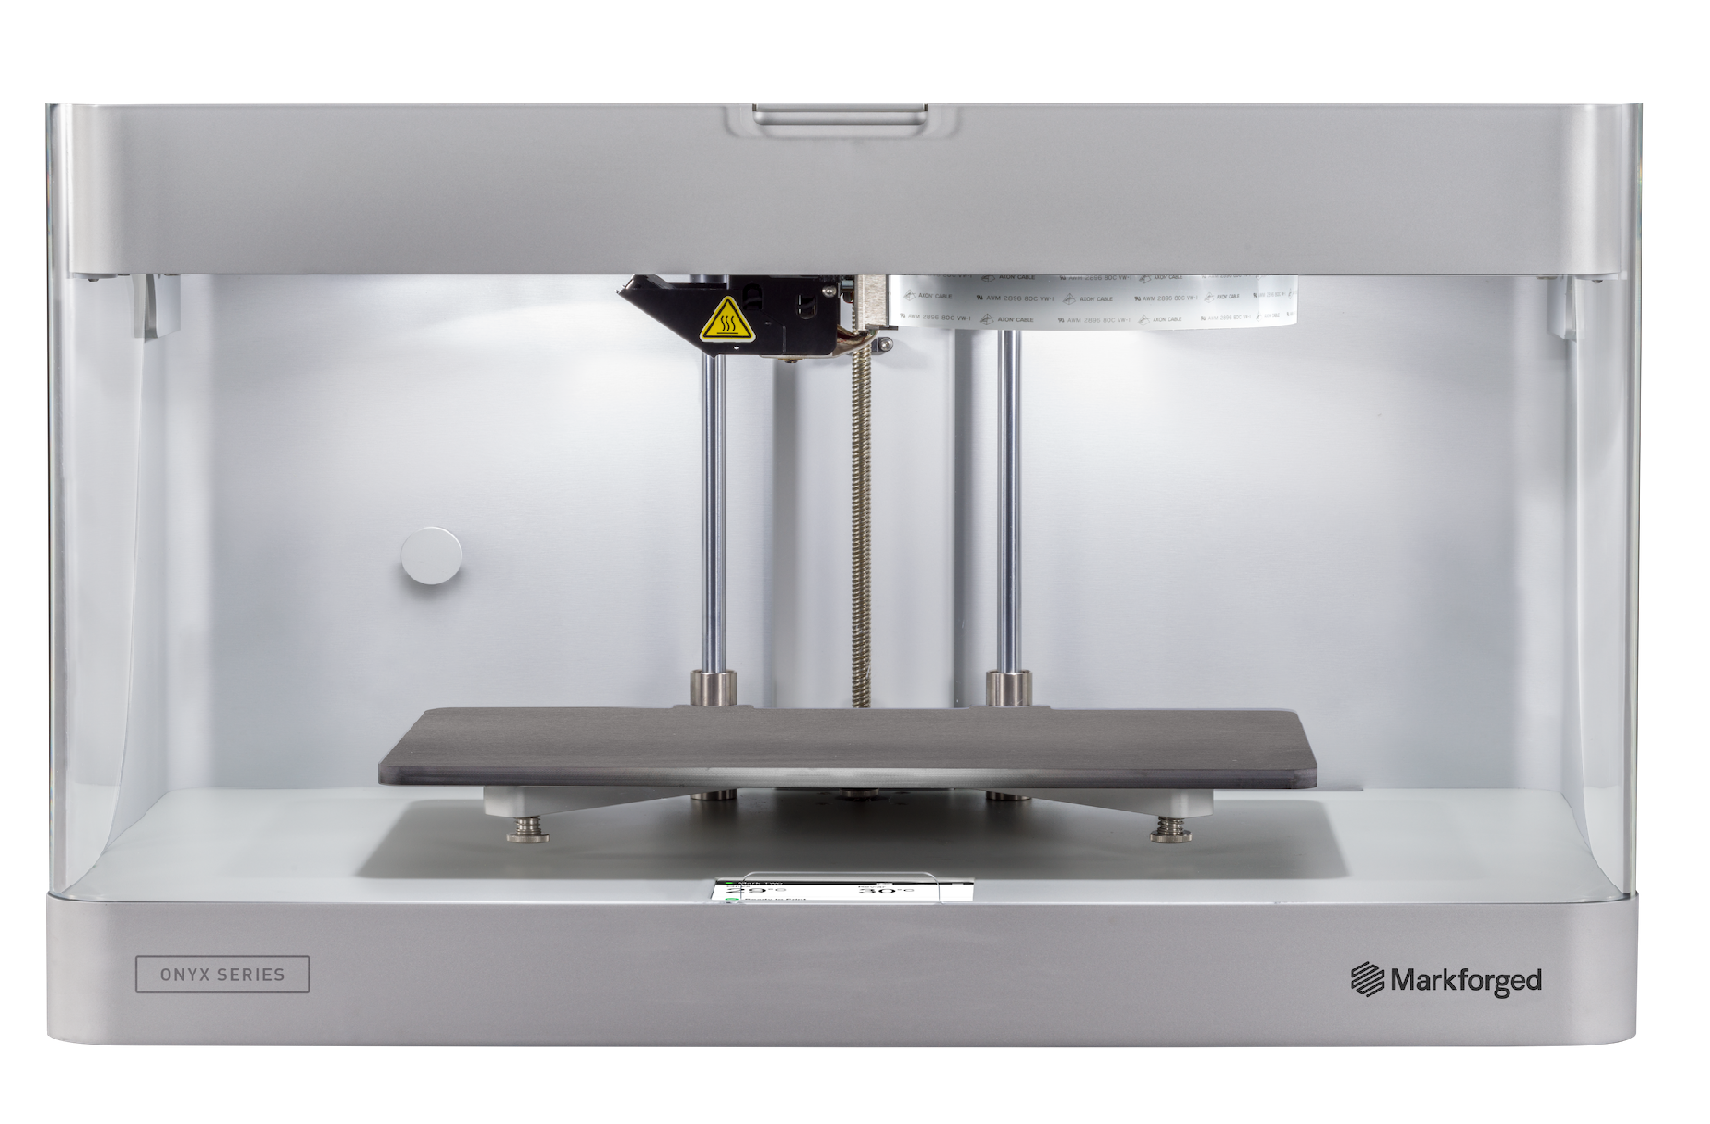
| Slicer | Eiger |
|---|---|
| Build Volume | 320 × 132 × 154 mm |
| Compatible materials | Nylon, Onyx, Carbon Fiber, Fiberglass, Kevlar |
| Minimum Layer Height | 0.1 mm |
| Heated Build Plate | No |
| More Information | [{{{moreInformation}}} Markforged Mark Two] |
Slicers
MakerBot Replicator = MakerBot Desktop (this software is no longer being updated but you will need it to use the MakerBot 2 since it's a discontinued printer)
- Open MakerBot desktop
- Click add a file
- Select the right printer. We Replicator 2 printers. To do this click on “device” on the top menu. Then “select type of device” which can either be one of the two previously mentioned printers.
- Send your file to the device. There are two ways of doing this, either using an SD card or a usb cable.
- SD Card: Click “Export Print File” Replicators only work with 2GB SD cards (or smaller), if you try to use anything bigger you will get an “SD card read error”.
- USB Cable: Connect your printer to your computer using a usb cause. You should see the printer at the bottom of the MakerBot Desktop screen. Click Print. Once you have clicked print, you unfortunately cannot unplug the computer.
Dremel = Dremel Idea Builder
- Load your .stl file by clicking the load button on the menu on the left hand side. You can modify your object (scale, move, or rotate) using the buttons on the left hand side
- Click build.
- Select your settings and your method of printing. Either using an SD card or a USB cable.
- SD card: You are saving the machine to an SD card and moving the SD card to the printer
- USB cable: You are using a USB wire to transfer the fire to the printer. What is nice with the Dremels is the file is downloaded to the machine. Therefore you can unplug the wire when the file has transferred.
Start the print
Starting your print is very simple. Simply save your file to an SD card or connect your computer to the printer and click print or build.
Dremel
If you are using a USB cord, the print with start automatically when you hit build in on your computer. Follow the following step if you are using the SD card.
- Place your SD card in the SD card slot in the 3D printing. This is found on the right hand side near the front of the printer.
- If the 3D printer is not already on, turn on the printer using the on/off switch located at the right hand side near the back of the printer.
- Using the front screen, press build ->The picture of an SD card ->select your file -> Build.
Custom Slicer Settings as an Intermediate User
This section is under construction. If you want more information on the print settings available in Cura, check out the Cura documentation on Ultimaker's website.
Dual extrusion
testest
Print orientation
Post-Processing 3D prints
