Digital technologies/Laser cutting/Tutorial: How to Laser Cut
Welcome to a quick refresher on the essentials of laser cutting. Whether it's been a while since your last training session or you missed a few key details, rest assured, we've got you covered here.
Preparing your file
Before you use the laser cutter, you need to get your file ready. Start by making a new file or picking one you already have. If you're working with an image, choose or create it in any program, or use a picture you already have. We recommend a free program called Inkscape. A guide on how to use the program can be found here. When your file is ready to print, you need to save your file as .pdf ,(at 600 DPI). You can ask to use one of our USB keys to then transport your file from your personal device to the computer next to the laser cutter you want to use.
A couple of friendly reminders:
- Don’t forget that the lines that you want to be cut through/vectored need to be 0.001 inches!
- Put your design in the top left corner of your document so you can easily know where it will start on your piece in the laser cutter.
- It’s a good idea to bitmap any picture you want to print in Inkscape, it will look much better this way.
Getting ready to cut
Safety settings
Safety is the most important aspect of laser cutting. If you cut the wrong material or forget to turn on the filter or air compressor, it could become dangerous for everyone in the space.
Before you print, make sure both of these are on and check the crumb tray.
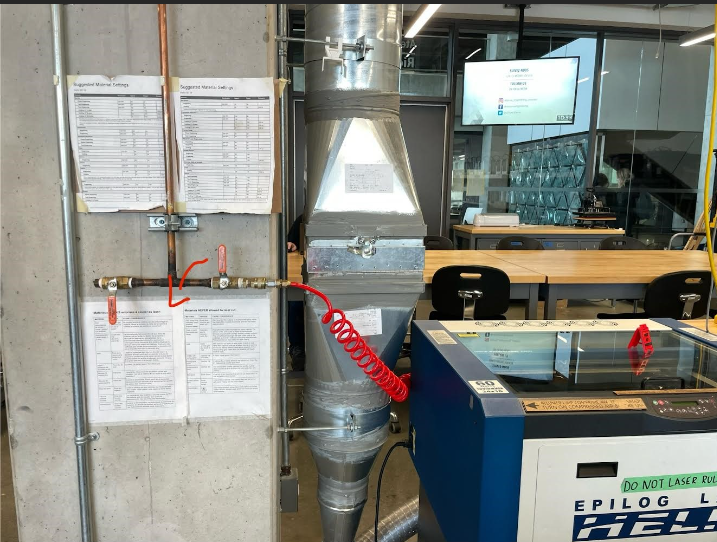
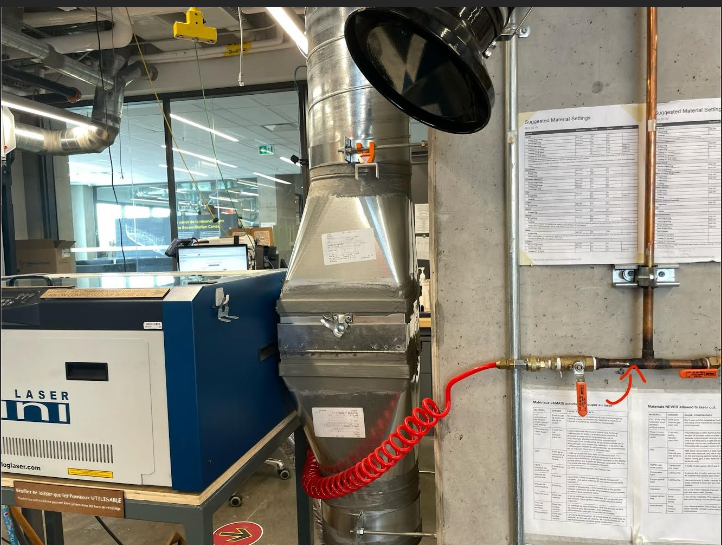
Air compressor
This is the orange handle next to laser cutter, under the materials settings list. Turn the handle towards the ON direction (handle in-line with tube). You should hear the air start.
The picture below shows how to turn on the laser for the Helix lasercutter.

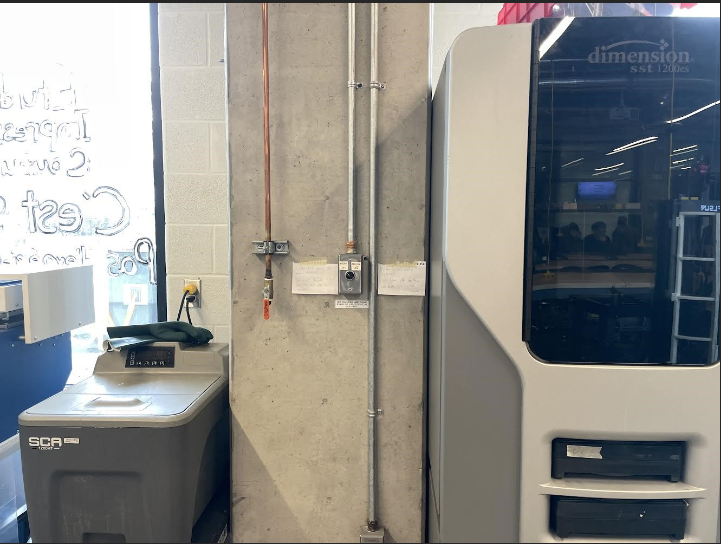
The picture below shows how to turn on the air compressor for the Mini lasercutter.

Filter
The filter is activated by a little black dial that must be turned to ON. It can be found on the back wall of the Makerspace between the two windows.

Clearing the crumb tray
Clearing the crumb tray before you begin a print ensures it is cleared of debris that could potentially catch on fire.
- You start by opening the front of the laser, using the two black handles.
- Once open, you can pull out the crumb tray and empty it in the garbage.
- Put everything back and you’re good to go.
Focusing

To focus the laser, follow these steps:
- First turn on the laser and insert your material. The ON switch is located on the bottom far left side.
- Once on, press Focus (button 6). You will be able to move the bed up and down by pressing the up/down arrows right next to the focus button.
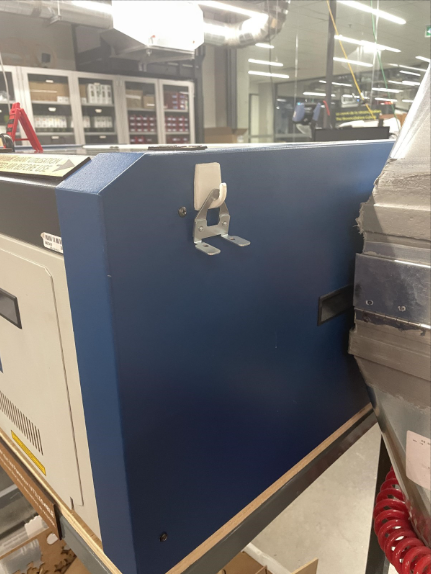
- Put the focusing tool (found hanging on the right side of the machine) on the laser head.
- Move the bed down or up, using the arrow keys until it just barely touches the focusing tool.
- Once it touches the focusing tool, move the bed down one (1) time.
Homing
To set your home follow these steps:
- Set your home by pressing X/Y off (button 8), then Go (the green button).
- You should be able to freely move the head of the laser cutter along the X and Y axis of the laser cutter.
- Once you have moved it to the desired position, press Set home (button 7).
Printing/cutting settings
Once your file is on the computer next to the laser cutter, using a USB stick, you can now:
- Open your file in Adobe Reader.
- Once here, press the print button in the upper corner.
- Select the Epilog engraver from the printer choices.
- Afterward, press the properties button right next to the printer choices.
- The screen, as shown, should pop up. Follow the instructions below on how to adjust the settings.

1.Resolution: The print resolution can be set from 75 to 1200 Dots per inch (DPI). The higher the DPI the more time it takes for the laser cutter to complete the job. Usually, your file will be 600 DPI.
2.Focus: In the Makerspace we use manual focus instead of Auto Focus. Don’t check this box!
3.Centre Engraving: This allows you to define the center of the job instead of the top left corner.
4.Send to Laser: You can choose to print to either the printer (your laser), the Job Manager, or both. This allows you to send your job to the Job Manager without sending it to the laser so you can then print the job directly from the Job Manager at a later time without accessing your graphic software. You can leave the box ticked.
5.Job type:
- Raster: Used for engraving material. Vector lines that should be engraved should be set to 0.006 inches (0.152 mm) or greater line thickness.
- Vector: Select when running cuts only. Vector lines that should be cut have to be set to 0.001 inches (0.0254 mm) or else it won’t be recognized as a cut.
- Combined: Select when running both cutting and engraving.
6.Piece size: Enter the size of the document or of the material that you are laser cutting.
7.Raster Settings:
- Speed: Determines the travel speed of the laser. It can be increased by increments of 1%. The lower the speed, the deeper the cut. Each material has its own specific value and can be found on “Suggested Material settings” which is located next to the laser cutters in Makerspace.
- Power: Determines the amount of laser energy that is delivered to the piece being cut/engraved and is adjustable in 1% increments. Each material has their own specific value and can be in “Suggested Material settings” which is located next to the laser cutters in Makerspace.
8.Vector Settings:
- Speed: Determines the travel speed of the laser. It can be increased increments of 1%. The lower the speed, the deeper the cut. Each material has its own specific value and can be in “Suggested Material settings” which is located next to the laser cutters in Makerspace.
- Power: Determines the amount of laser energy that is delivered to the piece being cut/engraved and is adjustable in 1% increments. Each material has its own specific value and can be in “Suggested Material settings” which is located next to the laser cutters in Makerspace.
- Frequency: Determines the number of laser pulses per inch of cut. The lower the frequency, the less heat being applied to the material. The frequency can range between 1 to 5000.
Starting your cut
Now that you are ready to go.
- You can close the lid.
- Press “job” (button 5) and find the name of your file. It should be the last one if you just uploaded your file.
- You can now press GO (green button).
Watch as your file comes to life in front of you! Congrats!
Tip: To see how the printer's head will move during your print without actually cutting, you can press "go" while keeping the lid open and turn on the red pointer.