Tutorial: Installing Unity
Prior to proceeding with Unity tutorials, ensure the application is installed on your computer. This guide will show how to install the software and how to acquire packages using the the Asset Store.
Downloading & Installation
In order to download the Unity Software, you must first choose one of three product options. Although Unity is a free software, there are still monthly subscription services that exist. You can choose between Personal, Plus, and Pro on the Unity Store. Beginners are recommended to use personal since it is free. Once personal is selected, you will be brought to a download screen. On here you must click to agree to the terms and conditions, and then you may install the software for your operating system. Note: Download the installer, not Unity Hub.
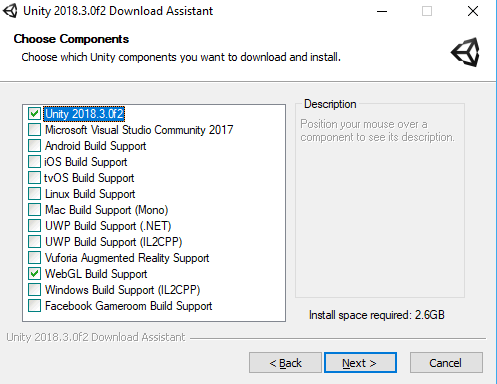
Once Unity is downloaded, run the installer and click Next. Read over and accept the License Agreement, then click next. You will now see a screen titled Choose Components, where you can choose to install additional features such as support for Android, iOS, and Linux builds. If you do not wish to develop on any of these platforms, hit next. Finally choose the install location and hit next, installation should begin.
Launching Unity
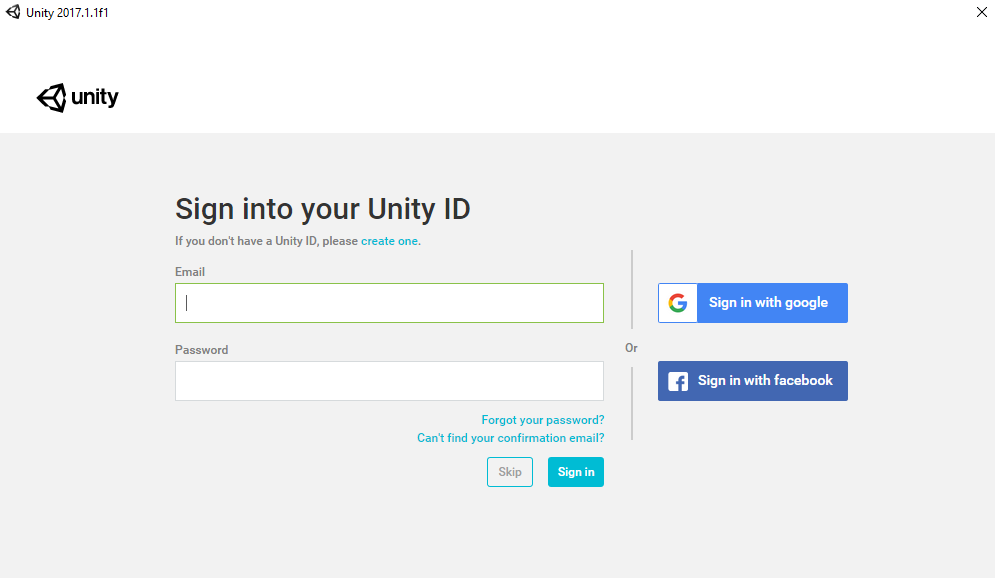
To launch Unity, either locate the icon on the desktop, or open it from the Windows Menu. The splash screen should appear indicating startup. You will be prompted to sign in using your Unity ID. If you do not have one, you may create one here or login with an existing account. You also have the option to skip if you'd like, however you will not be able to collaborate or install assets later (you can sign in whenever, though).
To create a new project, click New at the top right of the projects window. Specify a name, save location, and whether it is a 3D or 2D project. Once this is done click Create Project. Your project should be setting up necessary libraries and when complete the editor will launch.

