Digital technologies/Laser cutting/Laser cutting- Intermediate/3D Rastering
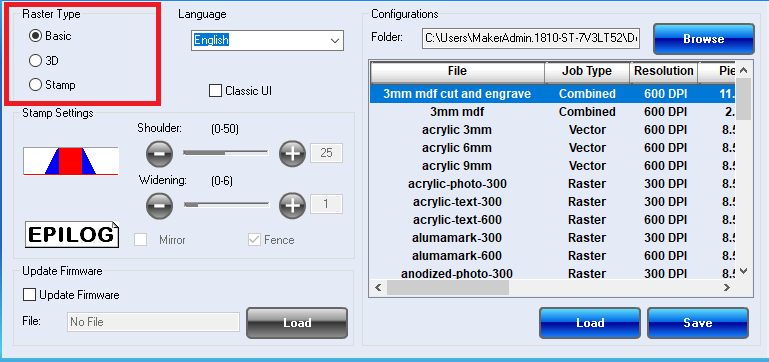
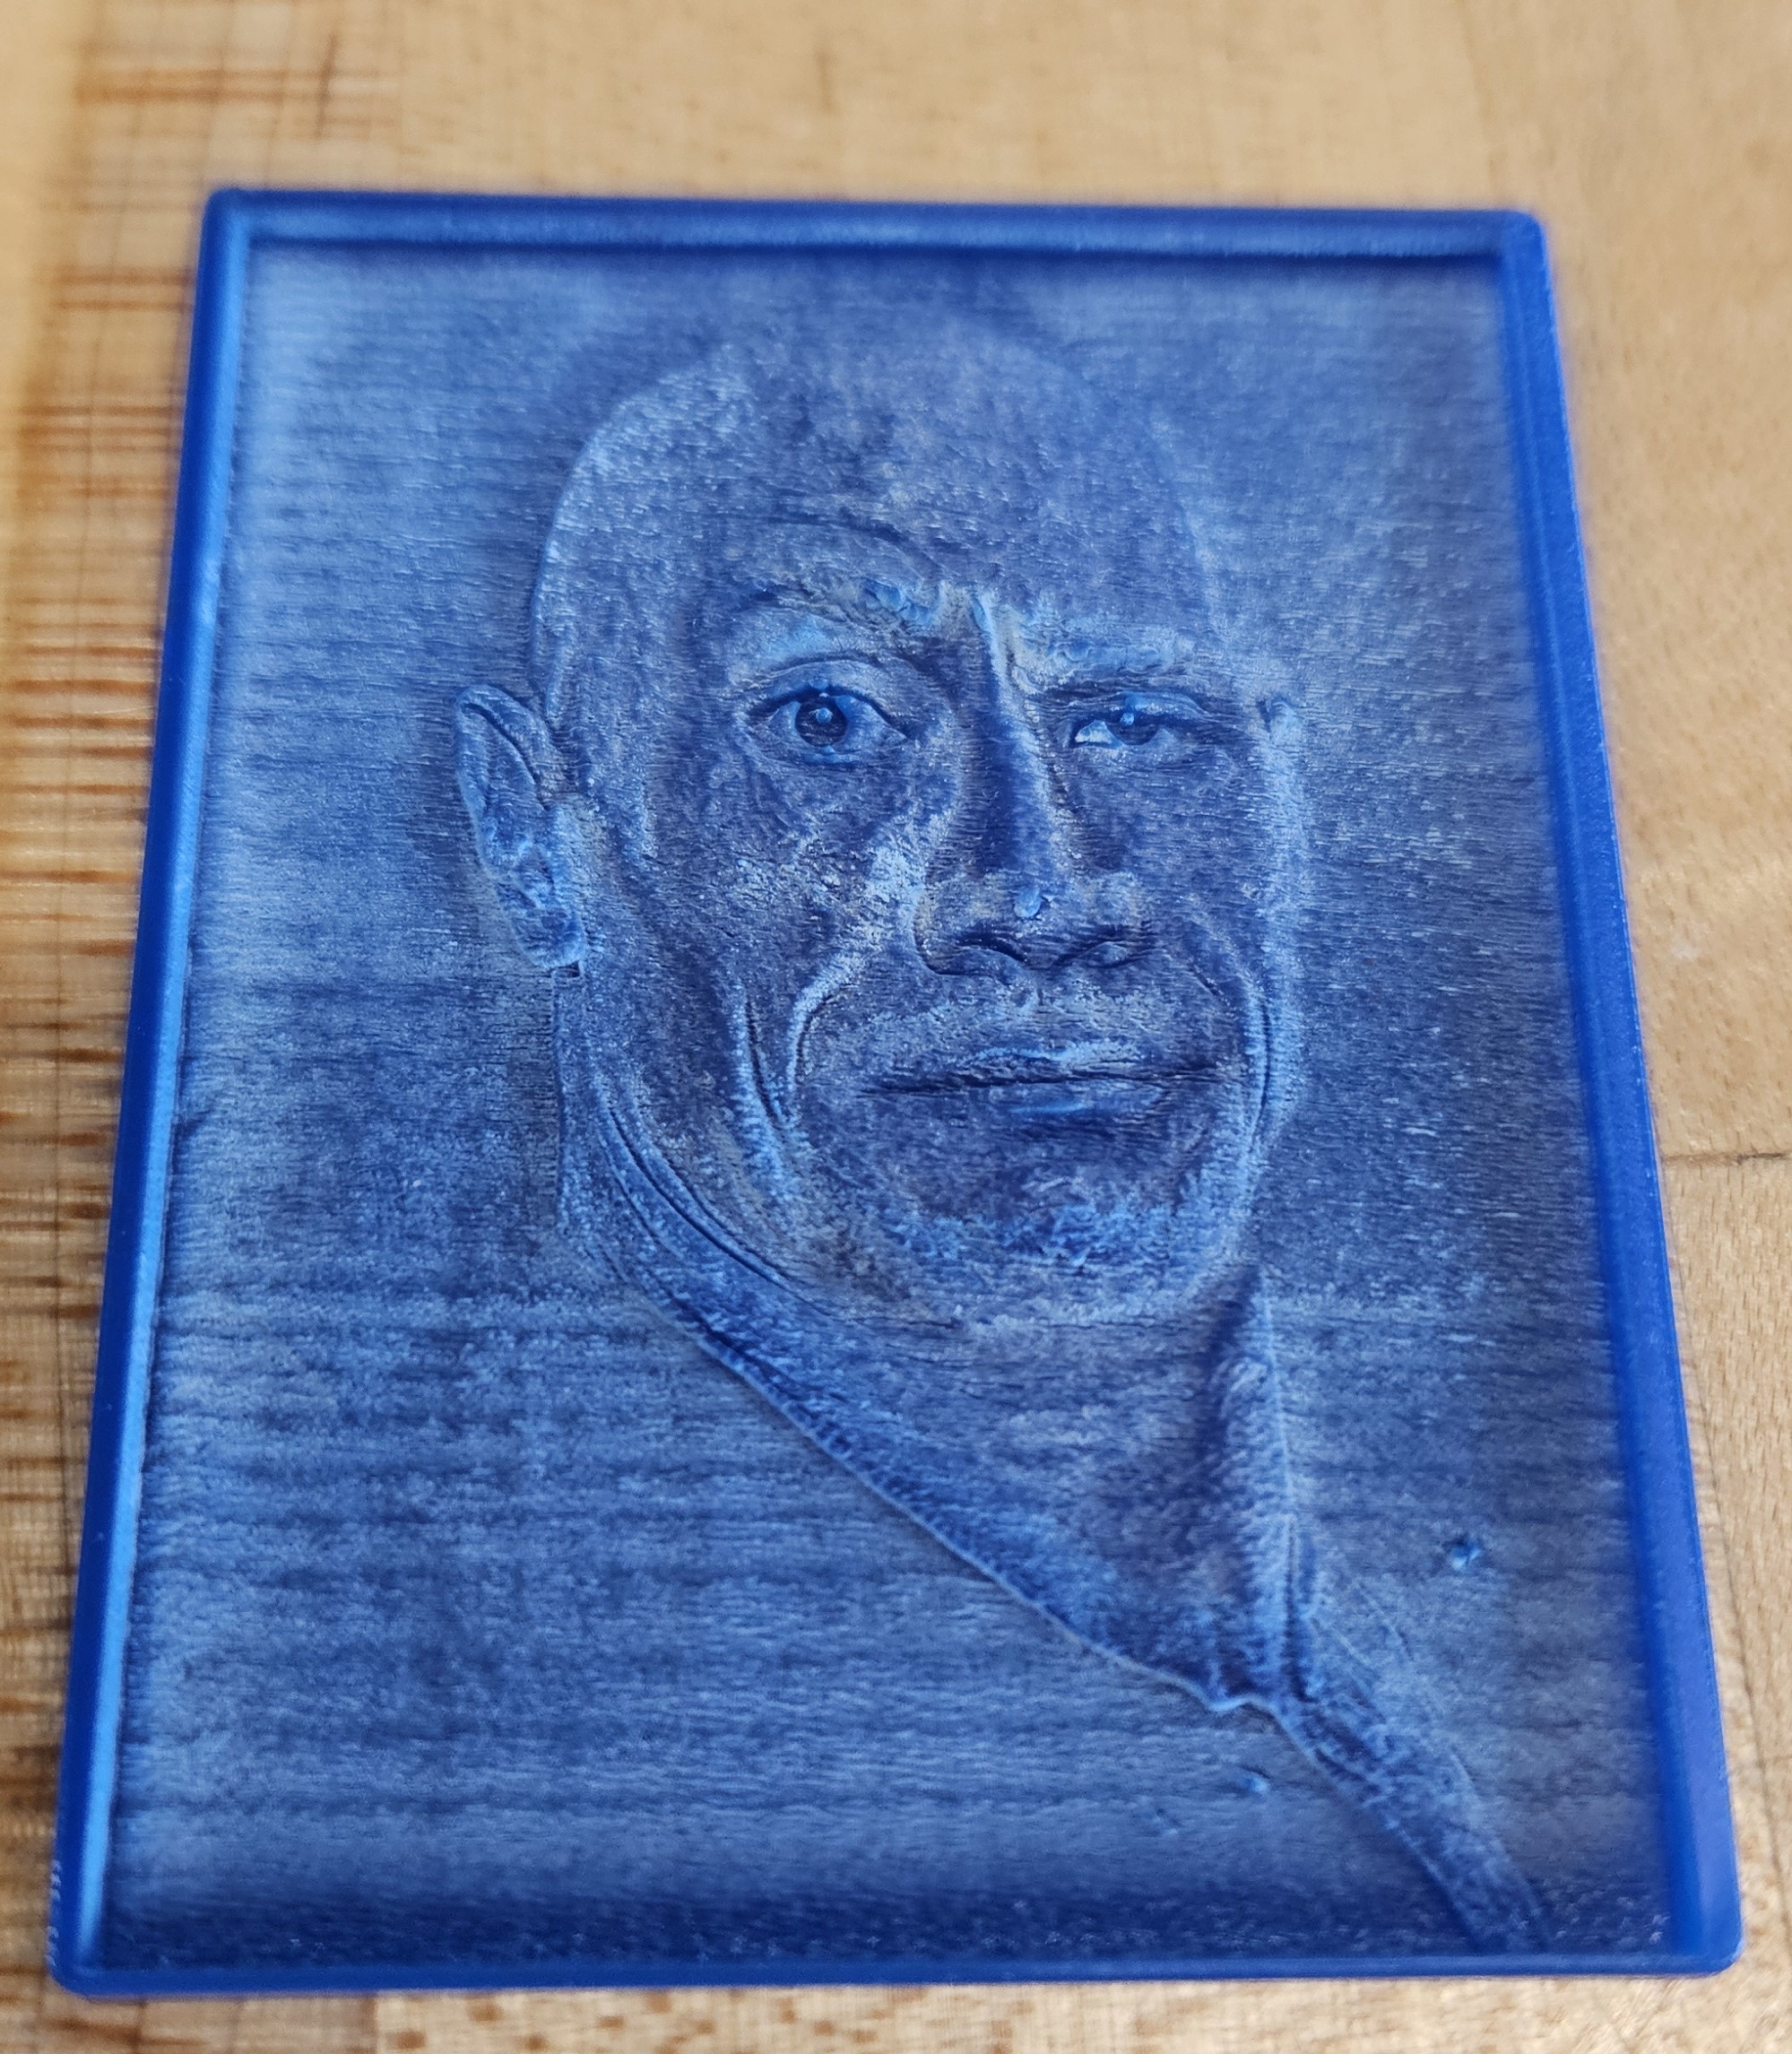
When you raster normally there is a point where the laser is either on or off. To add shading when rastering the machine makes a bunch of dots like a comic book. The more dots in one area the darker that part of the image will be. With 3D rastering the machine varies the strength of the laser depending on the color of the image. If your image is in black and white, the daker parts of the image will be hit with stronger lase than the lighter parts. To access these settings, go to the properties tab like normal on the laser, then go to the advanced tab and select 3D Raster. Then return to the main and set your rastering settings. These will have to be a lot slower than usual to let the last have time to cut deep enough into the material. For example, 1/8th inch acrylic 10% speed and 90% power was used to make a photo. Since this method determines the brightness of an image it is suggested to use black and white photos. To set it up you need Inkscape. Right – click on your image and select trace bit map. This will open a new window where you can select settings to trace the image. For 3D rastering select the multicolor setting, once there select brightness steps. This will break up the image into multiple different light levels. Here you can choose how many of these levels there are by changing the number of scans. Then check the boxes that say “smooth” and “stack”. Once you hit apply, a new image will appear over your old one. You can now delete the old image and export it as a pdf for laser cutting. 3D rastering is especially useful for making things like lithophanes. Where you have an image cut into a material and have light shine through creating the image.

