Professional development/Design thinking/Design for manufacturing
Here are a few tips and trics and guidelines for your prototyping process.
You are encouraged to go crazy and come up with loads of ideas for your concepts but once you have narrowed down your final concept it is time to think about how you will build it.
There are 3 stages of prototyping here but don't limit yourself to 3, you learn something every time you make a new prototype so more is better!
General rules
- Always have a goal for the prototype and test it by comparing it against specifications for your project.
- Always think about how each part will interact with each other and how they will be assembled.
Prototype 1
This prototype is generally a proof of concept to see if there are any major problems with the way your concept is currently outlined. Use it to refine the basic principles of your design.
Tips
- Make it 3D. Whenever possible, make a 3D representation of your ideas to be able to hold them in your hands and look around. This can be done by using cardboard, straws, skewers, etc in the physical world or by 3D modeling the components in the virtual world.
- Keep it low cost. You have a budget for any project, don't spend much here since it is simply to get some ideas in 3D form.
- Details. Put as many details as possible in your prototype, it will help a lot to know them now then trying to figure out last minute how to assemble parts that really don't want to fit together. Make sure to add all your parts into the prototype, this includes electrical wires, fasteners and connectors (if applicable).
- Moving parts. Along the same lines as the previous point, if you have any moving parts in your project, try to simulate the motion in your prototype so that you can detect any interference early on.
- Materials and components. Make sure that you decide what material you will be making every part of your prototype out of and which specific components will be included.
Rules
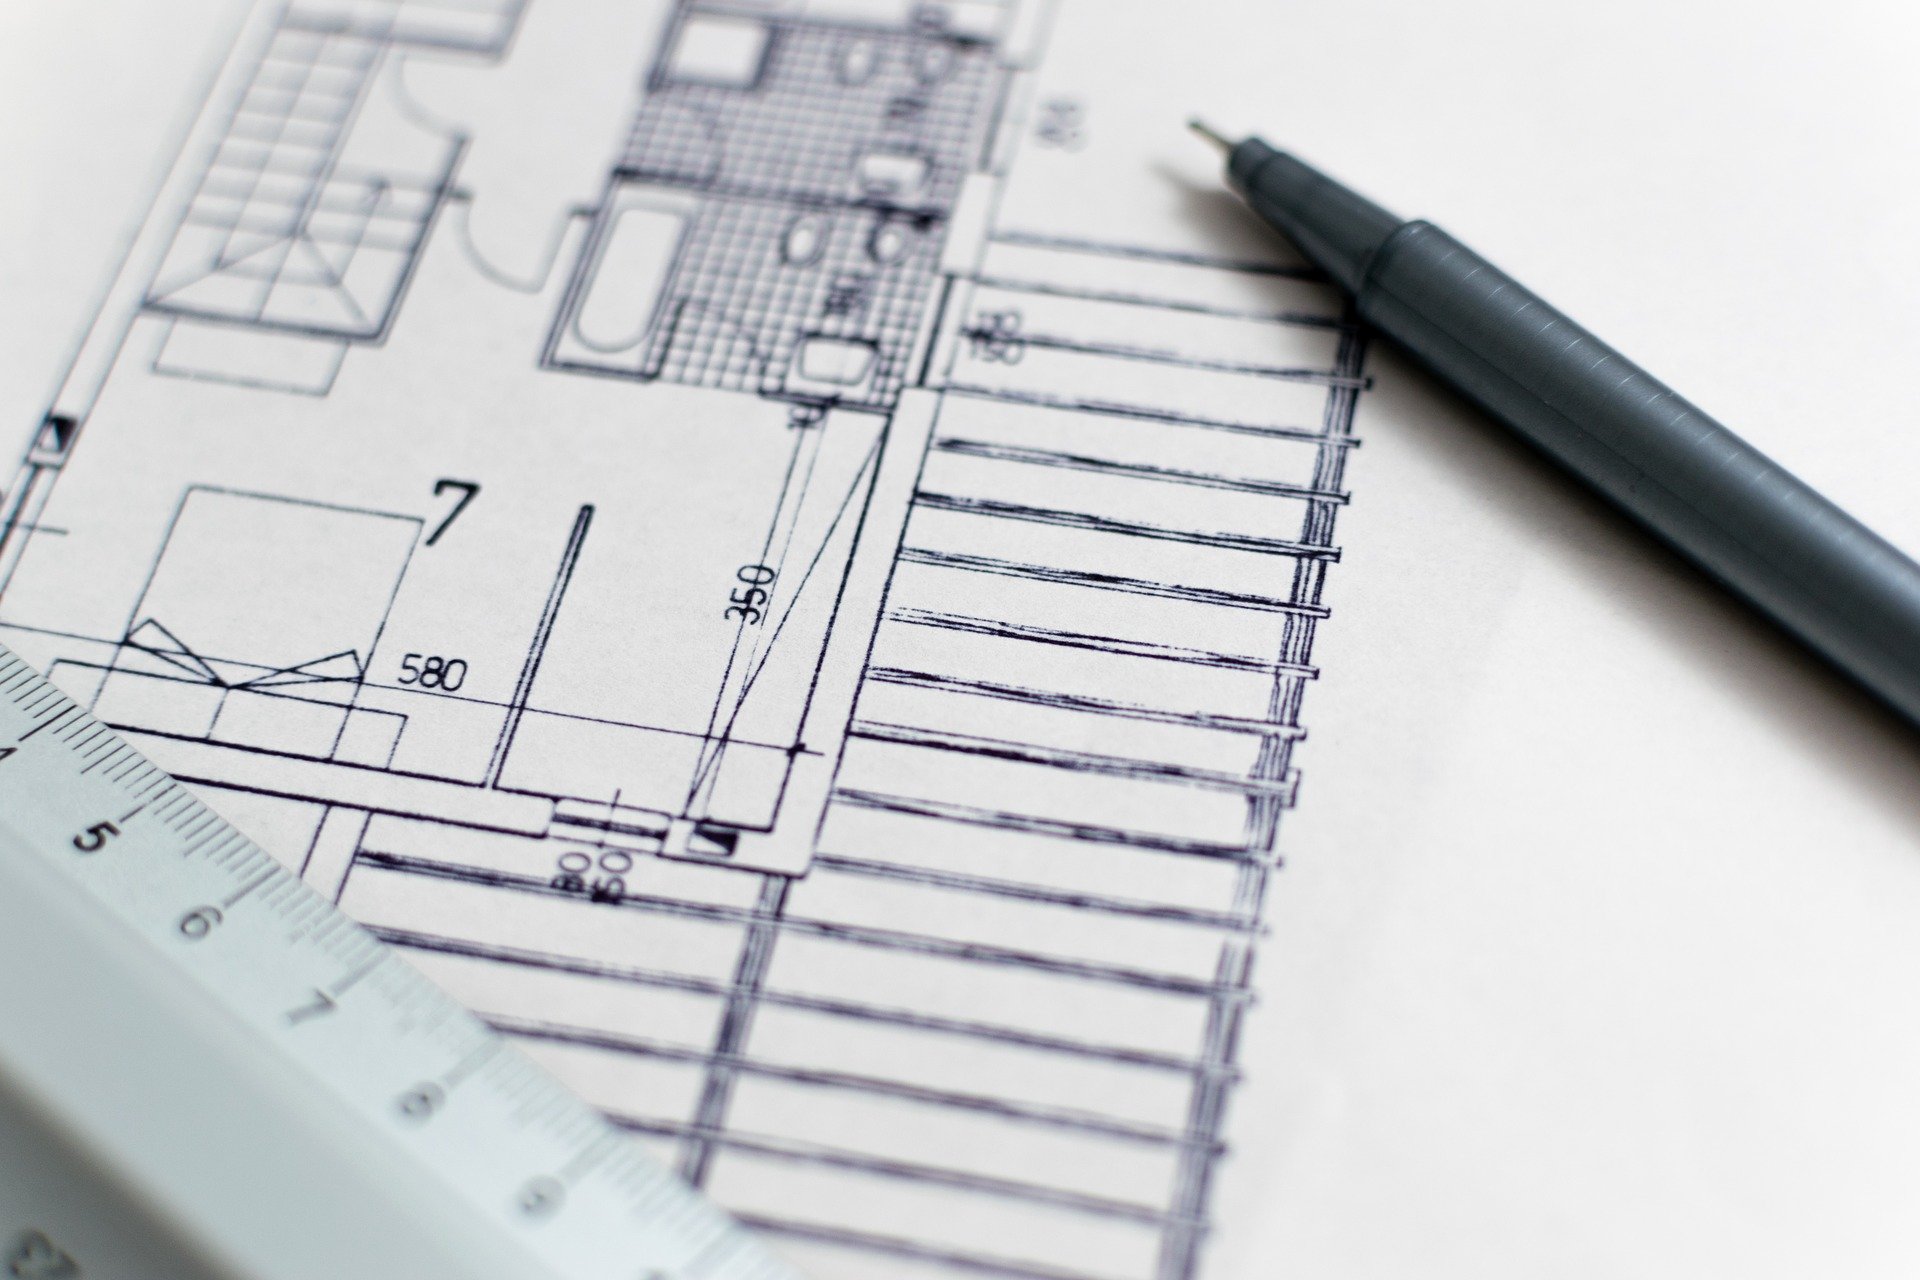
- Always start with a detailed drawing.
- Always include all parts in the prototype.
Prototype 2
This prototype is a sub-section of the whole project to test basic functionality. You should pick the main, most important part of your system. You should be detailing even more your design and figuring out exactly how you will build each part.
Tips
- Many parts. Don't stop at 1 prototype if you have a complex system. Test out each of the parts to learn if they need refinement or not.
- Documentation. Start documenting all your processes, you will want to know later how parts fit together and what the reason is for some of your design choices. Make sure to have assembly drawings, electrical schematics, comments in code
Rules
Prototype 3
Now it is time to
Tips
- Assembly. This will always take longer then you think and there will always be more problems then you think, leave buffer time!
Rules
- Hot glue is not an appropriate fastening method.
- Always solder electronic circuits.
Have fun!

