Difference between revisions of "Digital technologies/Textiles/3D printing on Fabric"
| Line 149: | Line 149: | ||
|- | |- | ||
|Print speed | |Print speed | ||
| − | | | + | |_ |
|150 mm/s | |150 mm/s | ||
|150 mm/s | |150 mm/s | ||
| Line 159: | Line 159: | ||
|- | |- | ||
|Printing temperature | |Printing temperature | ||
| − | | | + | |_ |
|210 °C | |210 °C | ||
|210 °C | |210 °C | ||
|- | |- | ||
|Build-plate temperature | |Build-plate temperature | ||
| − | | | + | |_ |
|60 °C | |60 °C | ||
|60 °C | |60 °C | ||
Revision as of 18:34, 9 August 2024
Introduction
3D printing is so versatile that it can also be incorporated into fabric, hence bringing rise to futuristic garment features.
It has flourished in the fashion industry, and many famous brands are already making and selling 3D-printed garments.
3D printing enables you to create your own designs for your clothes and personalize them as you would like. From cosplayers' costumes to footwear to pieces of jewelry to intricate patterns for your old shirts, 3D printing can bring your creations to life.

This document will give you an overview of how to 3D print on fabrics.
It will show three examples, with different filaments used, but the technique remains fairly the same.
3D printing on fabric examples
The following figures depict the final products obtained:
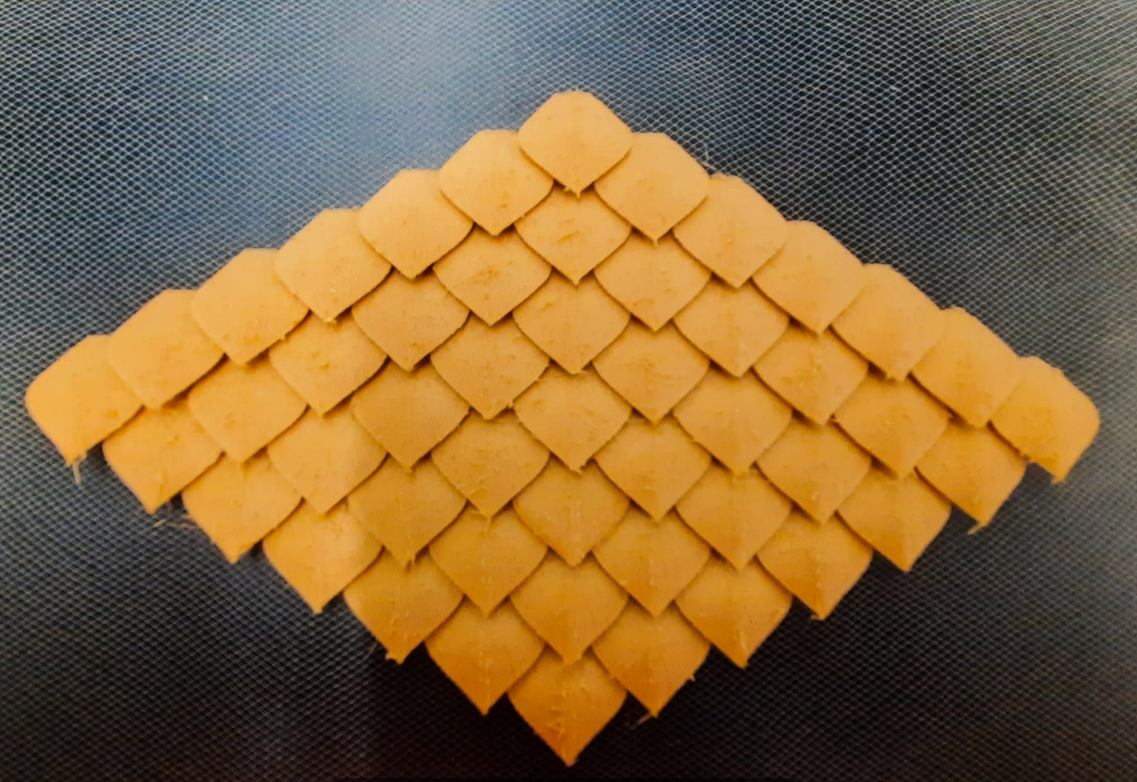
Dragon Scales
Dragon scales are inevitable when you are dealing with cosplayers’ costumes.
Moreover, their whimsical look can be pleasant for fantasy fans.
As shown in the picture, you can create your own dragon scale fabrics by incorporating your fabric between your 3D printed parts.
Glow in the dark Hexagons
The hexagons form a delightful pattern which may be ideal for making pieces of jewelry.

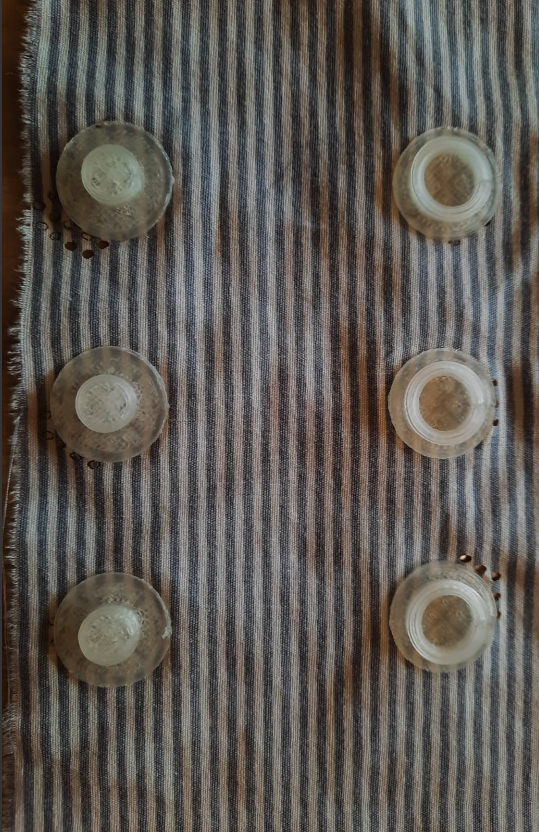
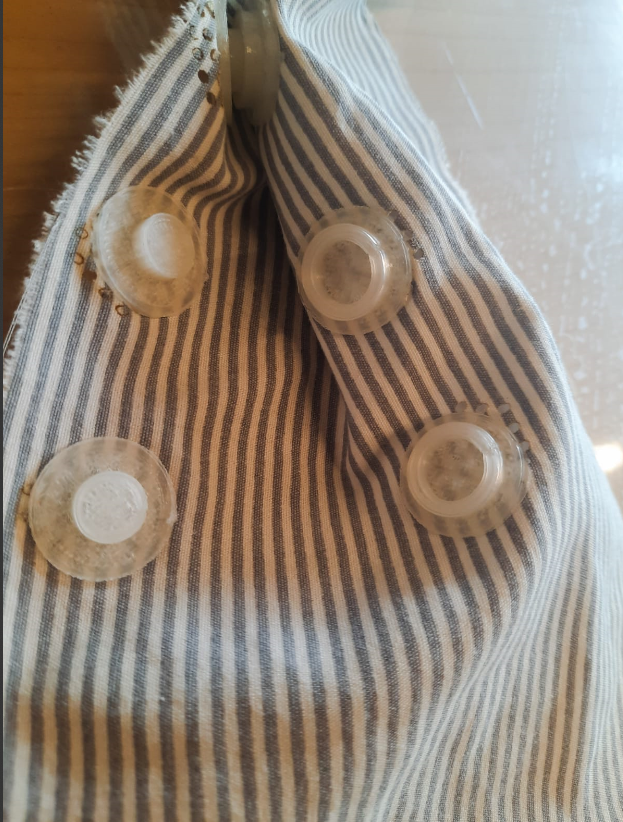
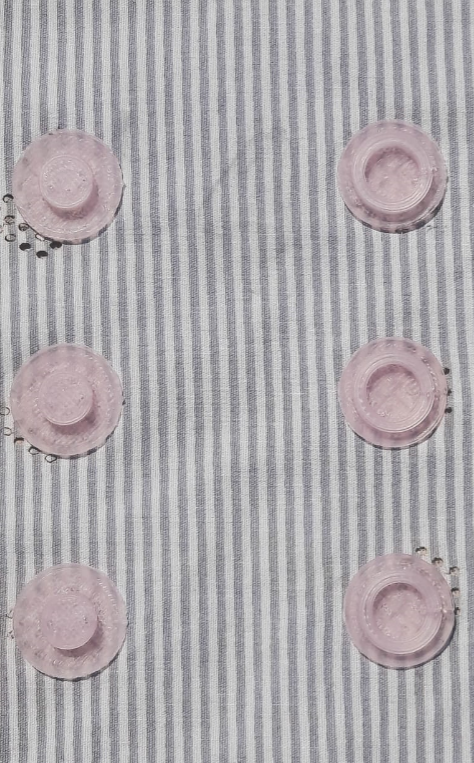
Photochromatic Snap Buttons
Snap buttons can revolutionize the way you use buttons, which are usually sewn on your shirts.
Different types of filaments were used. You can use the material of your choice and make the necessary changes in your 3D slicer.
Filament used
The following table shows the printers used for each filament type and some of the difficulties that came up.
The printer, Flsun v400 was the first option for all three examples since it is faster and was ideal for filaments of 1.75 mm, yet one filament type did not perform well with this printer, namely the Woodfill PLA.
| Printer | Filament | Slicer | Difficulties encountered |
|---|---|---|---|
| Colour fab Wood fill PLA (2.85 mm) | Ultimaker 2+-Nozzle 0.4 mm | Cura |
|
| Glow in the dark PLA (1.75 mm) | Flsun v400 | Cura | No significant difficulties were encountered, it worked like normal PLA |
| Photochromatic PLA (1.75 mm) | Flsun v400 | Cura | No significant difficulties were encountered, it worked like normal PLA |
Note: Some specialty filaments are abrasive and can severely damage the nozzle
Getting Started
Preparing your model
A 3D CAD software, such as Onshape can be used to build up your model from scratch.
Or you can find some readily available designs online on Thingiverse.
Note: The dragon scales and the hexagons were from Thingiverse.
-Dragon scales[1]
-Hexagons[2]
-Snap buttons[3]
Slicer
Now you must bring your model to your slicer.
To use the slicer:
- Download the slicer you will need for free or use one of Makerspace's computers.
- Bring your model to your slicer. Remember to save your file as STL.
Print settings
The following table shows the changes made in the print settings; all other settings were left the same.
| Dragon scales | Hexagons | Snap buttons | |
|---|---|---|---|
| Material | Wood fill PLA colorFabb Woodfill | Generic PLA | Generic PLA |
| Nozzle size | 0.4 mm | 0.4 mm | 0.4 mm |
| Infill pattern | Grid | Grid | Grid |
| Infill density | 10 % | 10 % | 10 % |
| Layer height | 0.15 mm | 0.20 mm | 0.15 mm |
| Print speed | _ | 150 mm/s | 150 mm/s |
| Build-plate adhesion | None | None | None |
| Printing temperature | _ | 210 °C | 210 °C |
| Build-plate temperature | _ | 60 °C | 60 °C |
References
- ↑ https://www.thingiverse.com/thing:3470986/files
- ↑ https://www.thingiverse.com/thing:4603936/files
- ↑ https://www.instructables.com/How-to-3D-Print-Onto-Fabric/