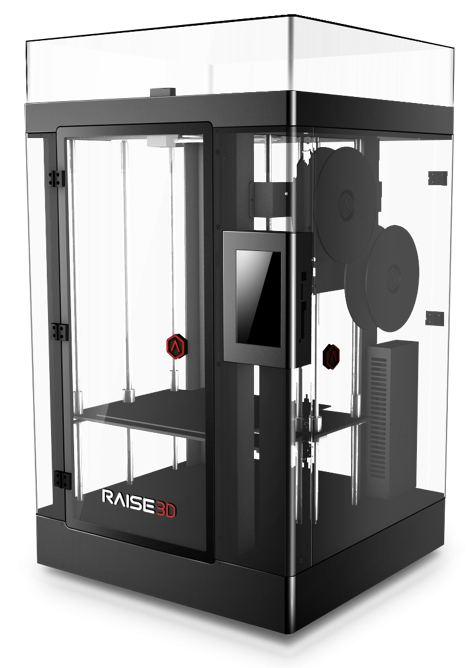
Raise3D N2 Plus: Difference between revisions
Jump to navigation
Jump to search
No edit summary |
|||
| (2 intermediate revisions by 2 users not shown) | |||
| Line 8: | Line 8: | ||
| minLayerHeight = 0.01 | | minLayerHeight = 0.01 | ||
| heatedBuildPlate = Yes | | heatedBuildPlate = Yes | ||
|float=right|buildWidth=305|buildDepth=305|buildHeight=605|recommendedSettings=https://en.wiki.makerepo.com/wiki/Raise3D_N2_Plus}} | | float = right | ||
| moreInformation = https://en.wiki.makerepo.com/wiki/Raise3D_N2_Plus | |||
| buildWidth = 305 | |||
| buildDepth = 305 | |||
| buildHeight = 605 | |||
| recommendedSettings = https://en.wiki.makerepo.com/wiki/Raise3D_N2_Plus | |||
}} | |||
==Recommended settings== | |||
{| class="wikitable" | |||
| | |||
|Low print | |||
|Normal | |||
|High | |||
|- | |||
|Layer Height (mm) | |||
|0.15 | |||
|0.10 | |||
|0.06 | |||
|- | |||
|Top/Bottom Layer thickness (mm) | |||
|0.75 | |||
|1.05 | |||
|1.05 | |||
|- | |||
|Wall thickness (mm) | |||
|0.7 | |||
|0.8 | |||
|0.72 | |||
|- | |||
|Infill (%) | |||
|18 | |||
|20 | |||
|22 | |||
|- | |||
|Build Speed (mm/s) | |||
|60 | |||
|50 | |||
|50 | |||
|- | |||
|Travel Speed (mm/s) | |||
|150 | |||
|120 | |||
|120 | |||
|} | |||
== Staring the print == | |||
To start a print on the Raise N2 Plus, your file must first be sliced in a slicer called ideaMaker. Once sliced the file must be saved on a USB stick and inserted into the side of the machine. Then a password must be entered before you can continue. Please ask a staff member for help. Finally select print and navigate the folders for your file and select print. the machine will then heat up and start printing. | |||
[[Category:3D Printers]] | [[Category:3D Printers]] | ||
Latest revision as of 18:52, 4 June 2024
Raise3D N2 Plus
| Slicer | ideaMaker |
|---|---|
| Build Volume | 305 × 305 × 605 mm |
| Compatible materials | PLA, ABS, PVA, Flexible |
| Minimum Layer Height | 0.01 mm |
| Heated Build Plate | Yes |
| More Information | Raise3D N2 Plus |
Recommended settings
| Low print | Normal | High | |
| Layer Height (mm) | 0.15 | 0.10 | 0.06 |
| Top/Bottom Layer thickness (mm) | 0.75 | 1.05 | 1.05 |
| Wall thickness (mm) | 0.7 | 0.8 | 0.72 |
| Infill (%) | 18 | 20 | 22 |
| Build Speed (mm/s) | 60 | 50 | 50 |
| Travel Speed (mm/s) | 150 | 120 | 120 |
Staring the print
To start a print on the Raise N2 Plus, your file must first be sliced in a slicer called ideaMaker. Once sliced the file must be saved on a USB stick and inserted into the side of the machine. Then a password must be entered before you can continue. Please ask a staff member for help. Finally select print and navigate the folders for your file and select print. the machine will then heat up and start printing.
