Difference between revisions of "Digital technologies/Laser cutting/Laser cutting- Intermediate/Boxes&3D assembly of laser cut parts"
Jump to navigation
Jump to search
(Created page with "{{#lsth:Digital technologies/Laser cutting/Laser cutting- Intermediate|Digital technologies/Laser cutting/Laser cutting- Intermediate/Boxes&3D assembly of laser cut parts|Bo...") |
|||
| Line 1: | Line 1: | ||
| − | {{#lsth:Digital technologies/Laser cutting/Laser cutting- Intermediate|[[Digital technologies/Laser cutting/Laser cutting- Intermediate/Boxes&3D assembly of laser cut parts|Boxes | + | {{#lsth:Digital technologies/Laser cutting/Laser cutting- Intermediate|[[Digital technologies/Laser cutting/Laser cutting- Intermediate/Boxes&3D assembly of laser cut parts|Boxes/3D assembly of laser cut parts]]}} |
Latest revision as of 17:09, 20 June 2024
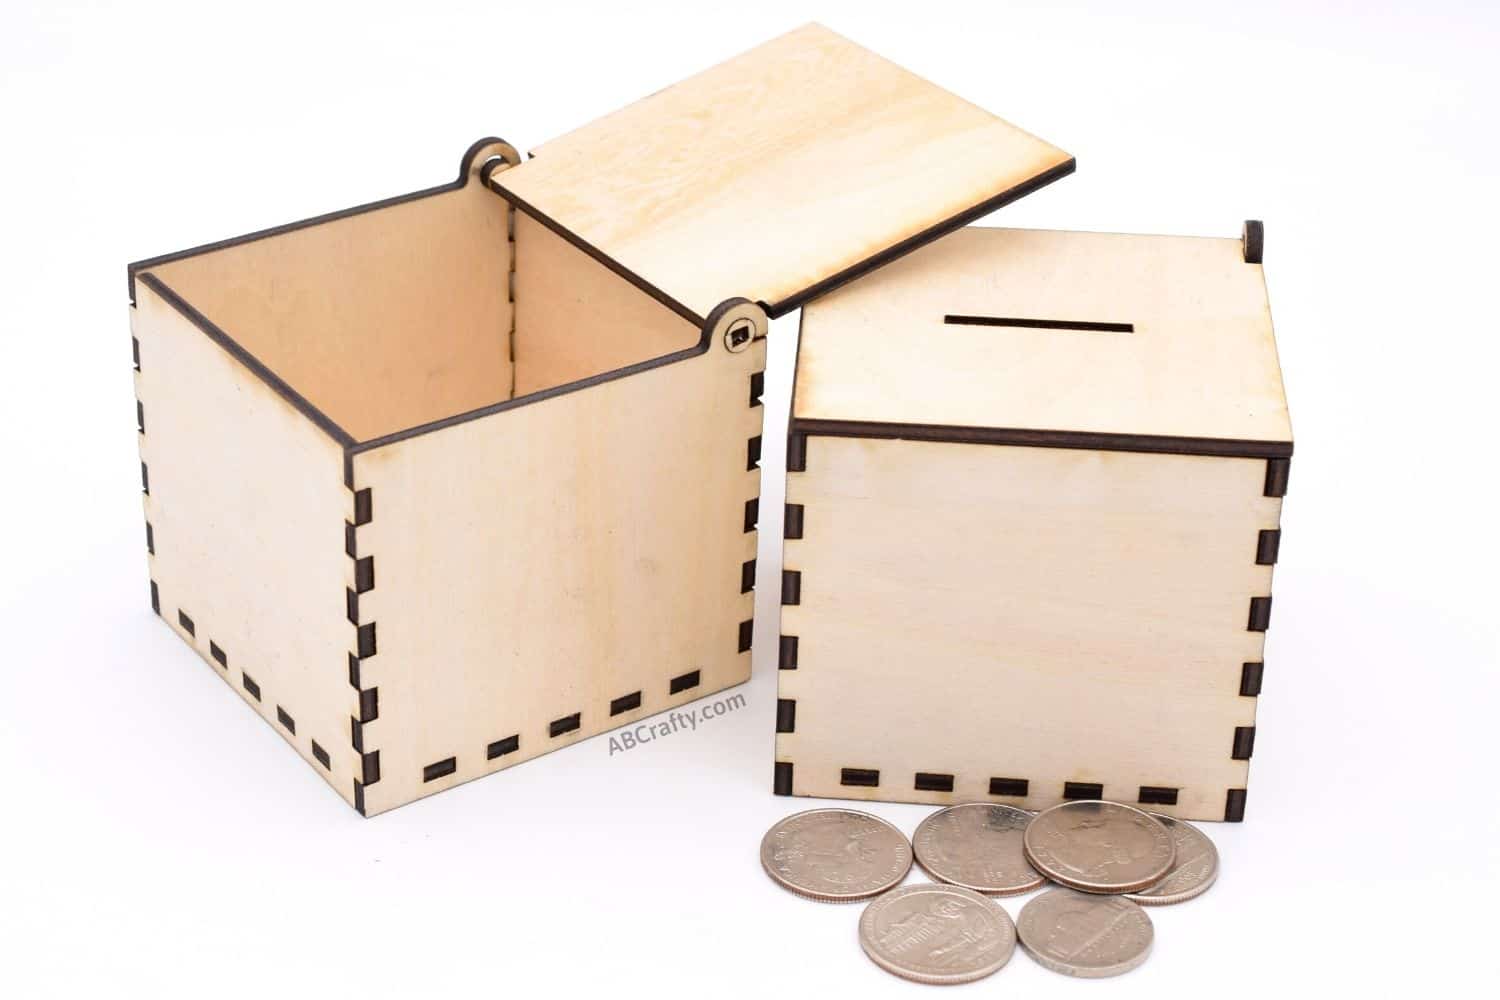
When making boxes with a laser cutter, a design is required. These designs can be made yourself or with a box maker such as MakerCase. These will generate the required shapes to fit together. Once you input information such as the material thickness and general dimensions. You can download your design and prep it for laser cutting. This can be done in Inkscape. Once your parts are cut you can start assembling your box. To put the box together there are many different methods. If you had already incorporated it into your design, you could use bolts. You could also glue the box together. This may be challenging since holding it together while the glue cures is not straightforward. Tape is suggested to hold it while it is being glued.
