Difference between revisions of "Ultimaker 3"
| (8 intermediate revisions by 3 users not shown) | |||
| Line 2: | Line 2: | ||
| name = Ultimaker 3 | | name = Ultimaker 3 | ||
| image = Ultimaker3.png | | image = Ultimaker3.png | ||
| − | | | + | | slicerName = Cura |
| − | | materials = PLA, PVA | + | | slicerLink = https://ultimaker.com/cura |
| + | | materials = PLA, PVA, Flexible | ||
| minLayerHeight = 0.02 | | minLayerHeight = 0.02 | ||
| heatedBuildPlate = Yes | | heatedBuildPlate = Yes | ||
| + | | float = right | ||
| + | | moreInformation = https://en.wiki.makerepo.com/wiki/Ultimaker_3 | ||
| + | | buildWidth = 215 | ||
| + | | buildDepth = 215 | ||
| + | | buildHeight = 200 | ||
| + | | recommendedSettings = https://en.wiki.makerepo.com/wiki/Ultimaker_3 | ||
}} | }} | ||
| − | Ultimaker 3 | + | == Recommended Settings == |
| + | These are the presets for the Ultimaker 3. | ||
| + | |||
| + | '''Using 0.4 nozzle''' | ||
| + | {| class="wikitable" | ||
| + | | | ||
| + | |Low print | ||
| + | |Normal | ||
| + | |High | ||
| + | |- | ||
| + | |Layer Height (mm) | ||
| + | |0.15 | ||
| + | |0.10 | ||
| + | |0.06 | ||
| + | |- | ||
| + | |Top/Bottom Layer thickness (mm) | ||
| + | |0.75 | ||
| + | |1.05 | ||
| + | |1.05 | ||
| + | |- | ||
| + | |Wall thickness (mm) | ||
| + | |0.7 | ||
| + | |0.8 | ||
| + | |0.72 | ||
| + | |- | ||
| + | |Infill (%) | ||
| + | |18 | ||
| + | |20 | ||
| + | |22 | ||
| + | |- | ||
| + | |Build Speed (mm/s) | ||
| + | |60 | ||
| + | |50 | ||
| + | |50 | ||
| + | |- | ||
| + | |Travel Speed (mm/s) | ||
| + | |150 | ||
| + | |120 | ||
| + | |120 | ||
| + | |} | ||
| + | |||
| + | == Starting the print == | ||
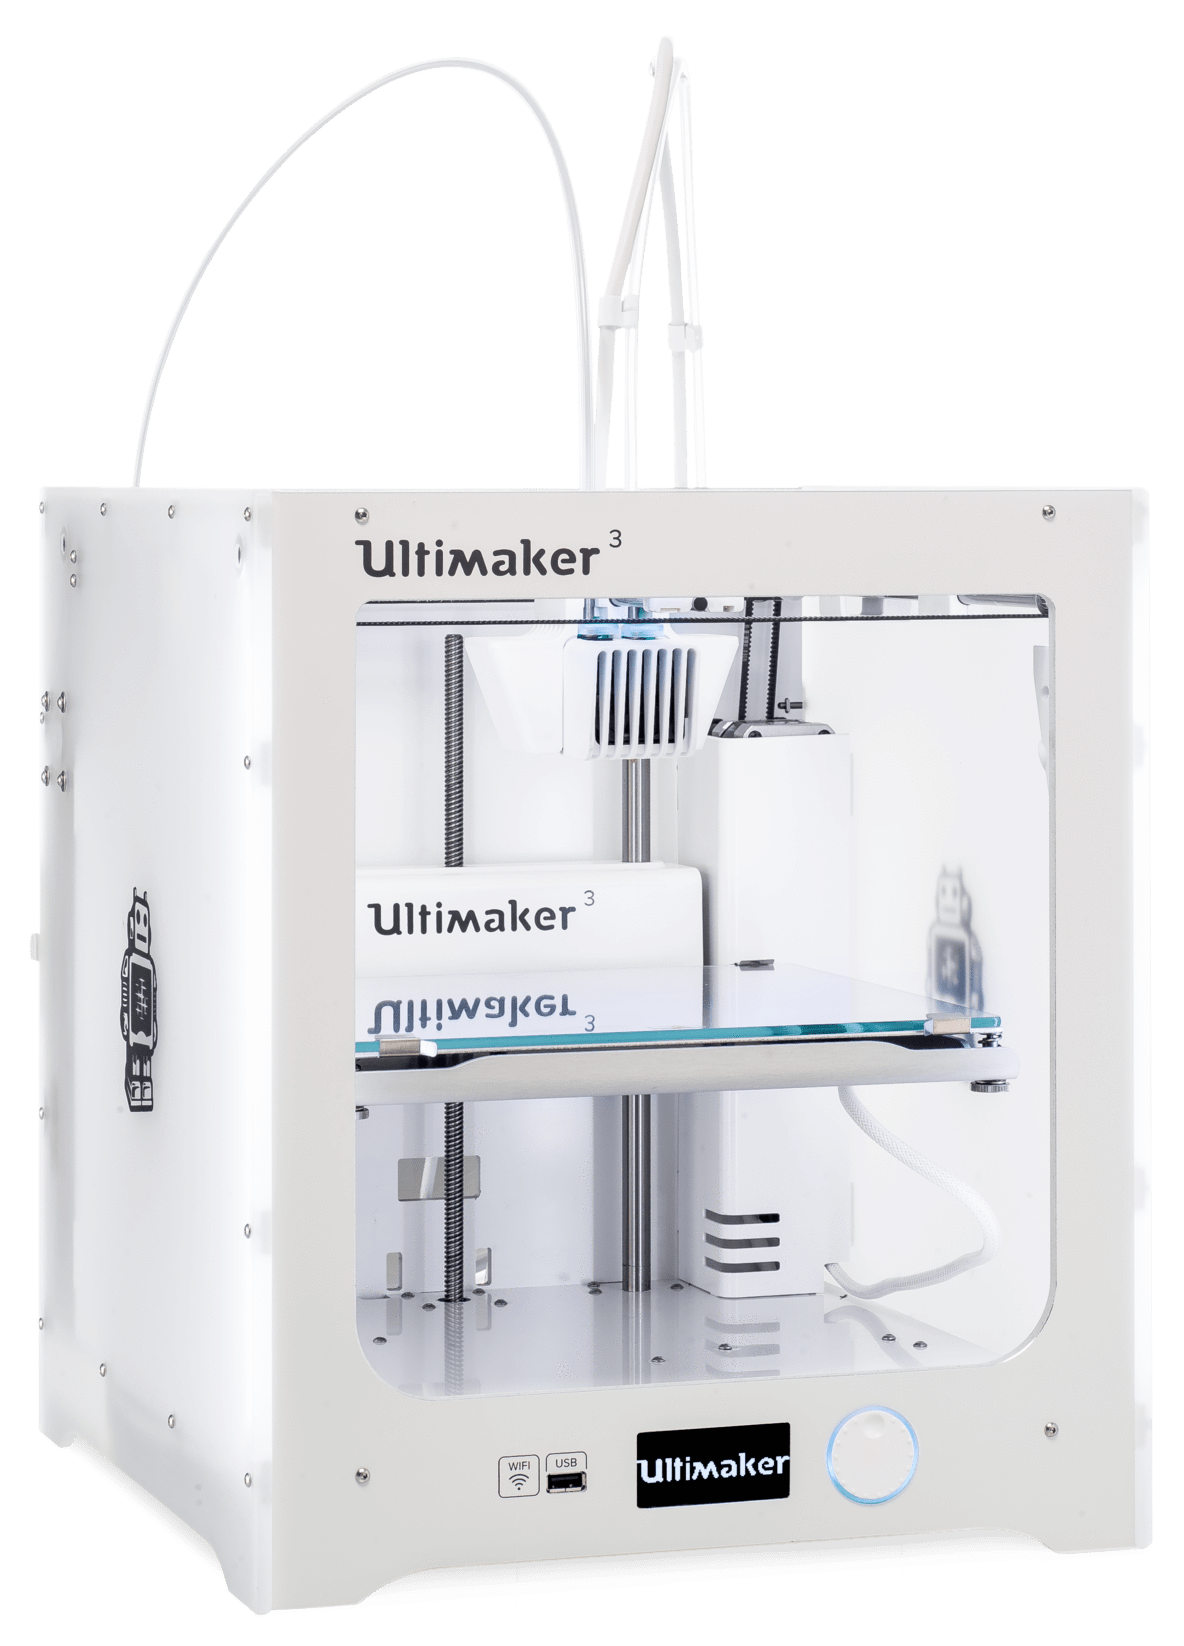
| + | To start a print on the Ultimaker 3 you will first need an USB stick to upload your files to the printer. These can be requested from the front desk after you sign out a printer. For the Ultimaker 2+ the slicer to use is Cura. Once you have your model sliced in Cura, insert the USB stick into your computer. This should add the option to "save to removable disk" ad the bottom left of Cura. Once your file is on the USB stick go to the printer and insert the stick. If the machine is on, rotate the dial until "print" is highlighted, then push the dial in. This will open the SD card and from this menu you can choose your file. To chose, press the dial in again and the printer will heat up and start printing. | ||
| + | [[Category:3D Printers]] | ||
Latest revision as of 18:53, 4 June 2024
| Slicer | Cura |
|---|---|
| Build Volume | 215 × 215 × 200 mm |
| Compatible materials | PLA, PVA, Flexible |
| Minimum Layer Height | 0.02 mm |
| Heated Build Plate | Yes |
| More Information | Ultimaker 3 |
Recommended Settings
These are the presets for the Ultimaker 3.
Using 0.4 nozzle
| Low print | Normal | High | |
| Layer Height (mm) | 0.15 | 0.10 | 0.06 |
| Top/Bottom Layer thickness (mm) | 0.75 | 1.05 | 1.05 |
| Wall thickness (mm) | 0.7 | 0.8 | 0.72 |
| Infill (%) | 18 | 20 | 22 |
| Build Speed (mm/s) | 60 | 50 | 50 |
| Travel Speed (mm/s) | 150 | 120 | 120 |
Starting the print
To start a print on the Ultimaker 3 you will first need an USB stick to upload your files to the printer. These can be requested from the front desk after you sign out a printer. For the Ultimaker 2+ the slicer to use is Cura. Once you have your model sliced in Cura, insert the USB stick into your computer. This should add the option to "save to removable disk" ad the bottom left of Cura. Once your file is on the USB stick go to the printer and insert the stick. If the machine is on, rotate the dial until "print" is highlighted, then push the dial in. This will open the SD card and from this menu you can choose your file. To chose, press the dial in again and the printer will heat up and start printing.
